The Best Self-Tanners for Natural and Glowy Skin

I don’t know about you but during the cooler and darker months, my skin is always in desperate need of a tan. Unfortunately, because I don’t live somewhere that sees year-round warmth, I can’t exactly slip into a swimsuit and lounge outside while the sun works its magic. This is where self-tanners come in!
Deciding on a self-tanner can be tricky—there are sooooo many options and all the labeling can be confusing. Plus, some tanners just don’t apply well or last as long as they promise.
I put together this list to help you find the perfect self-tanner for your skin—no sun needed. I’m including a variety of what I consider my favorite self tanner for beginners (or any tanning level, really) as well as some tips for applying it.
Whether you have a special event you want to look dewy and bronzed for or you simply want a little pick-me-up in the dead of winter, there’s bound to be a self-tanner in this post that will work for you.
My Favorite Self Tanners
Self-Tanners for Your Body
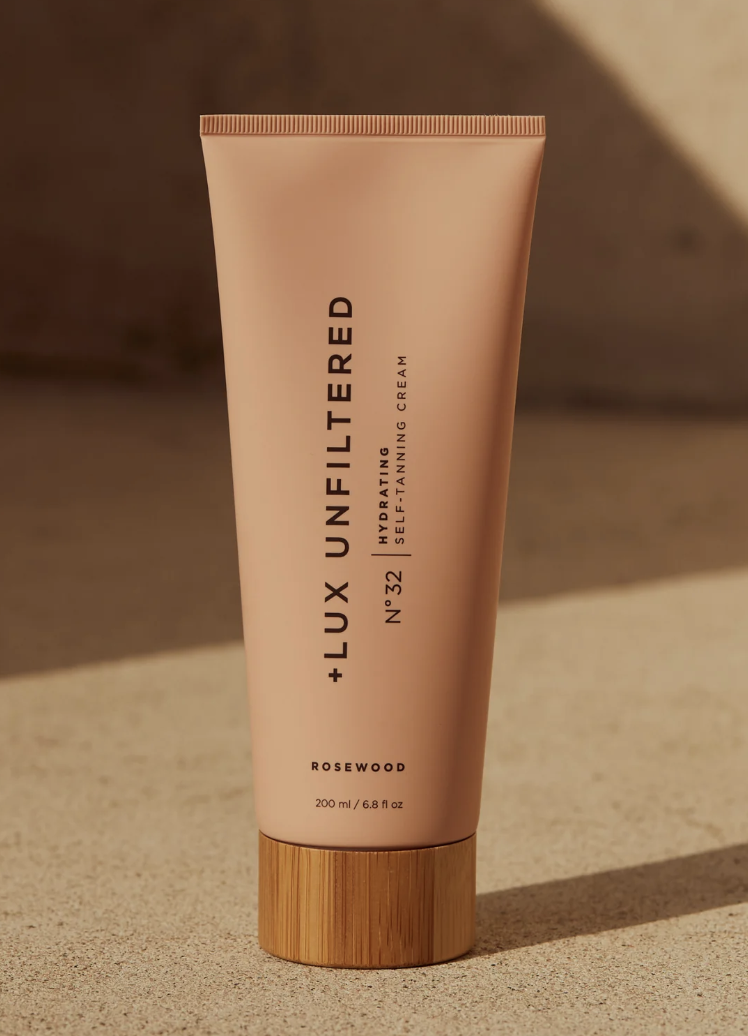
Lux Unfiltered Self-Tanning Cream
If you need an extra dose of hydration with your tan, this gradual self-tanning cream should be your first choice. It’s infused with shea butter, cocoa butter, and avocado oil, which all leave you with softer (and much more bronze) skin.
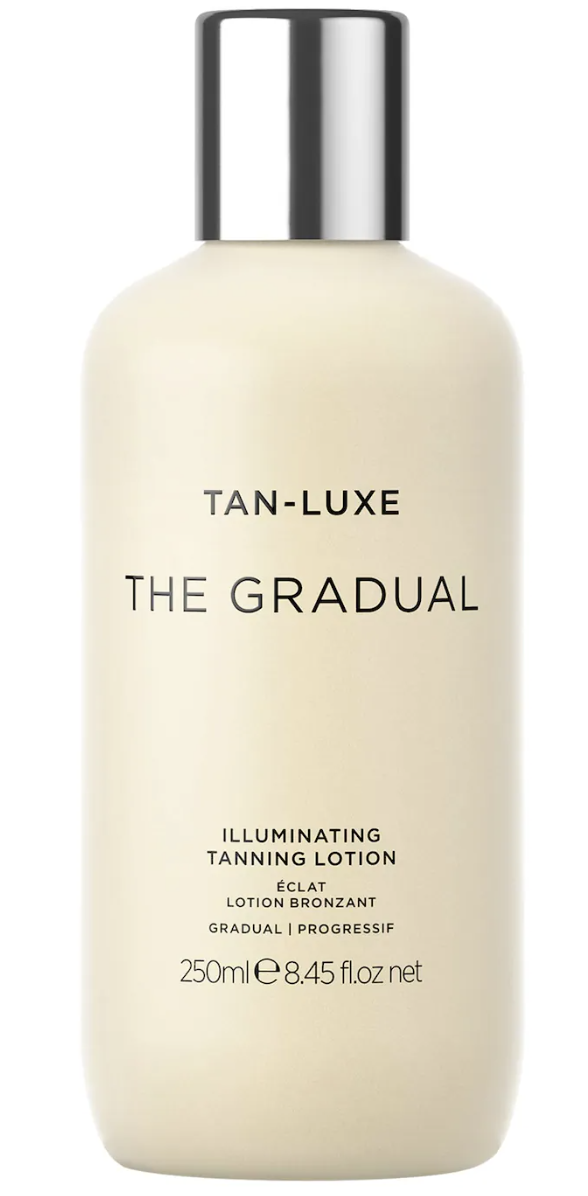
Tan-Luxe Illuminating Tanning Lotion
This illuminating tanning lotion is a winner because it smooths skin while tanning. If you have an uneven texture or a loss of firmness, this all-over tanning lotion will help.
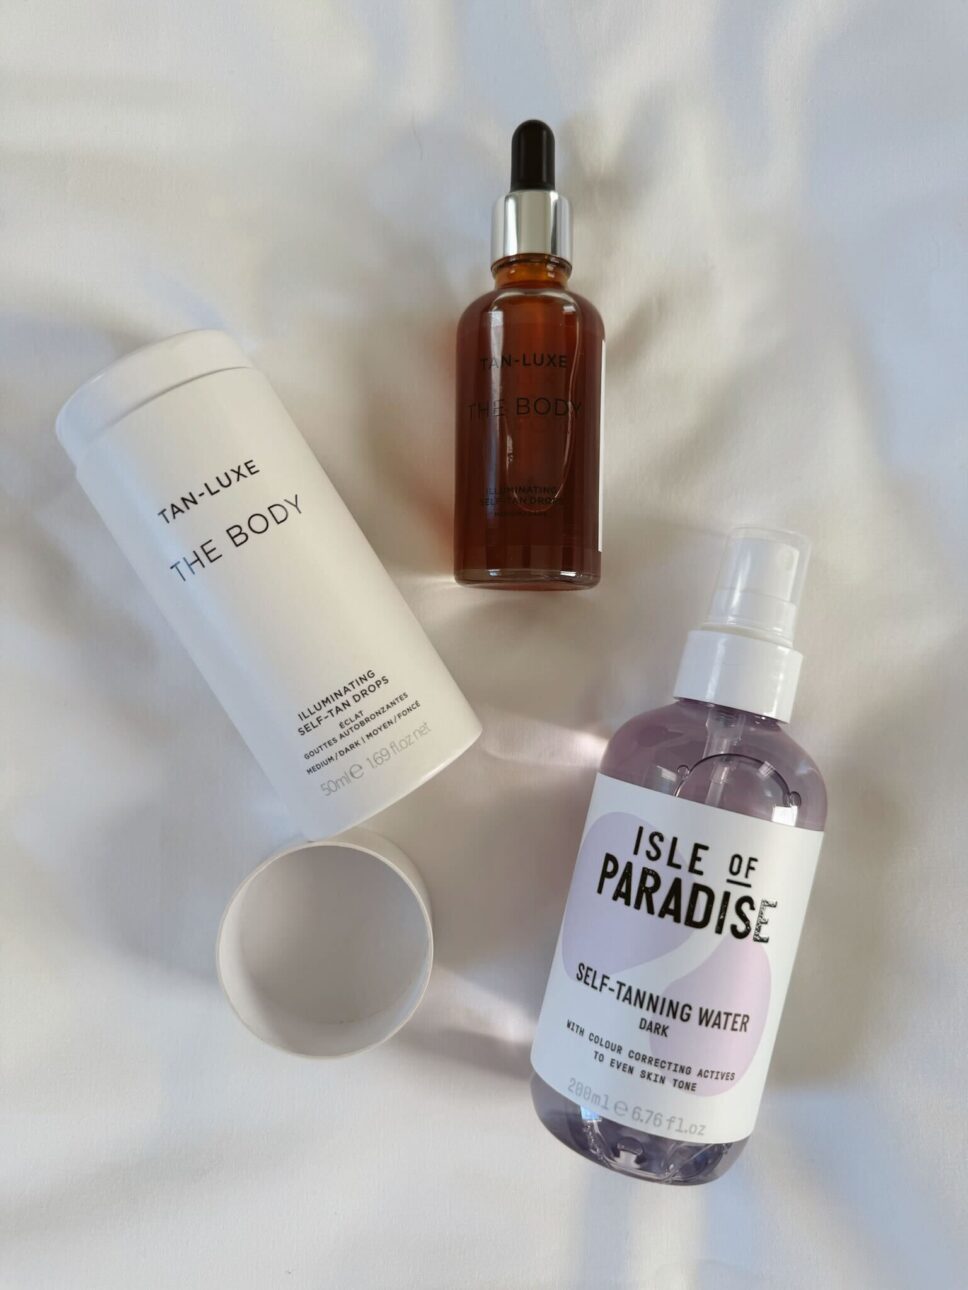
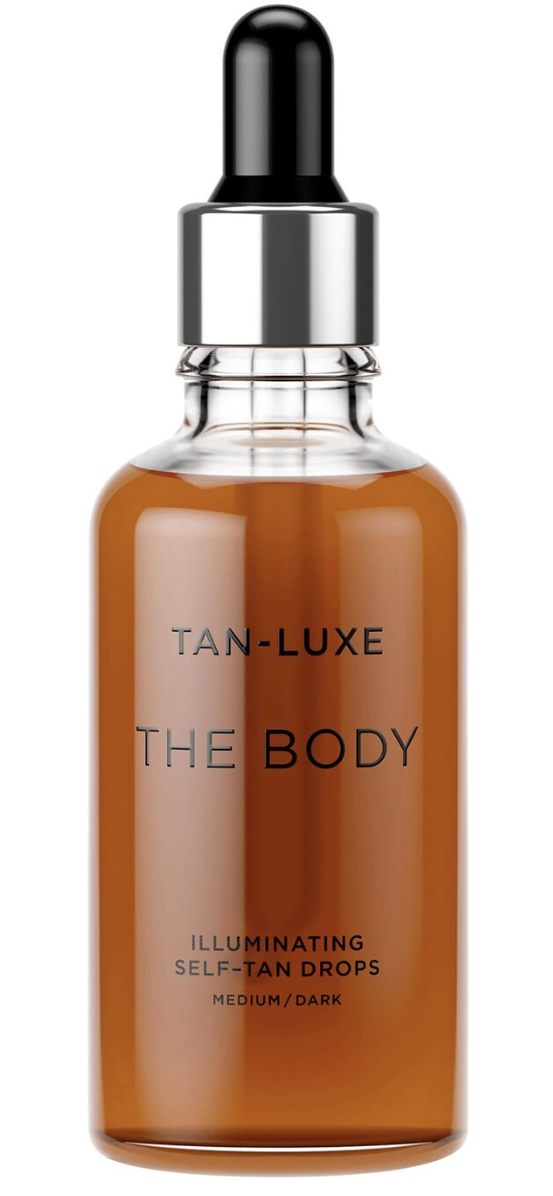
Tan-Luxe Illuminating Self-Tan Drops
For a more customizable tan, mix two to six of these drops with your favorite body moisturizer and apply it in a circular motion. I love that you can decide on the strength of your overall look with this pick.
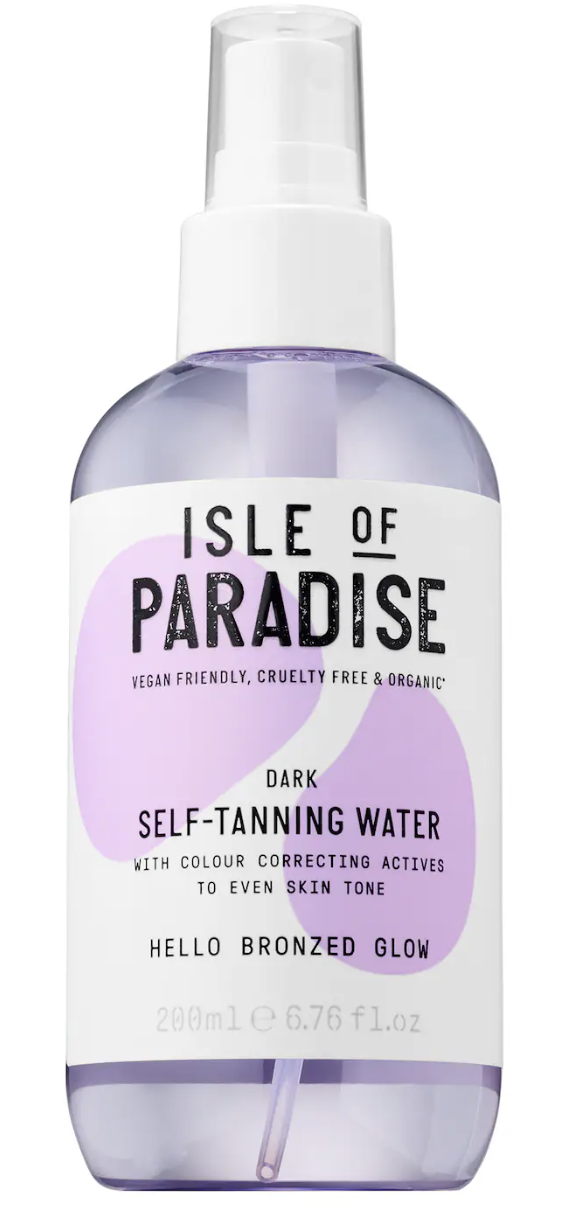
Isle of Paradise Self-Tanning Refillable Water
In all of your self-tanning research, I’m sure that you’ve come across Isle of Paradise. Good news: I can confirm that the brand is worth the hype—especially when it comes to this product.
It’s fool-proof to use, so it’s amazing if you’re just starting to dabble with self-tanners. Just spray it on your body and blend with a mitt or your hands and the self-correcting formula will work its magic!
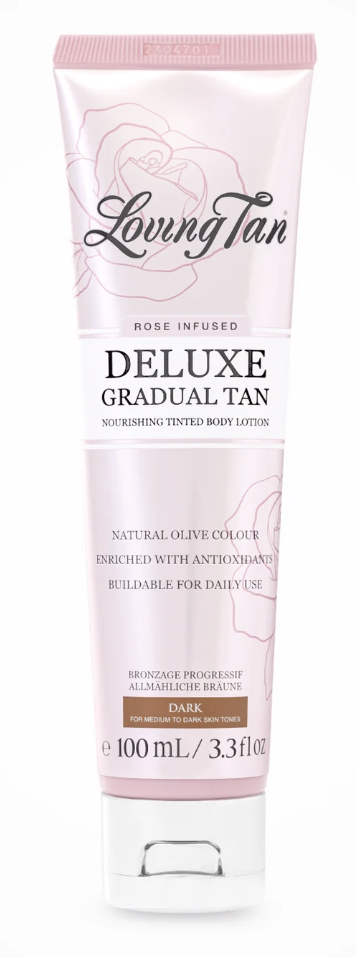
Loving Tan Deluxe Gradual Tan
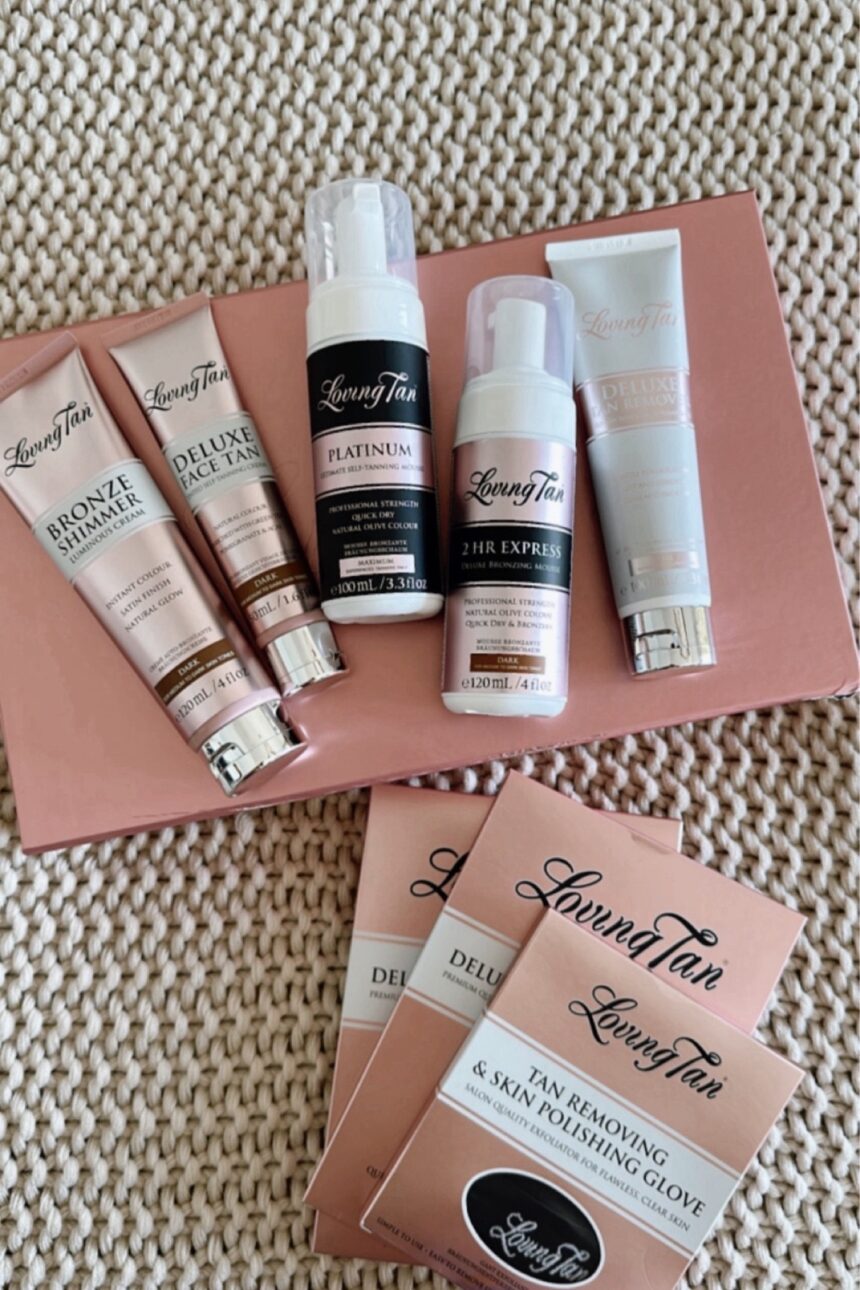
Loving Tan is another brand I reach for often when I need some quick color on my skin. This product has a light rose scent, which I really appreciate since so many tanners have a harsh smell. It offers a gradual tan, so you can reapply it daily until you achieve your desired tone.
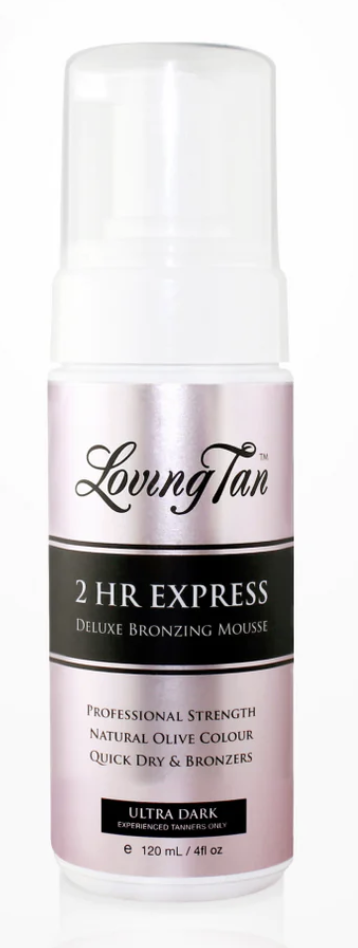
Loving Tan 2 Hour Express Mousse
Have a last minute party to attend? This Express Mousse offers amazing, instant color that makes it perfect for any immediate needs. I would say that this one doesn’t last as long as the others on this list, but it’s still nice to have on hand.
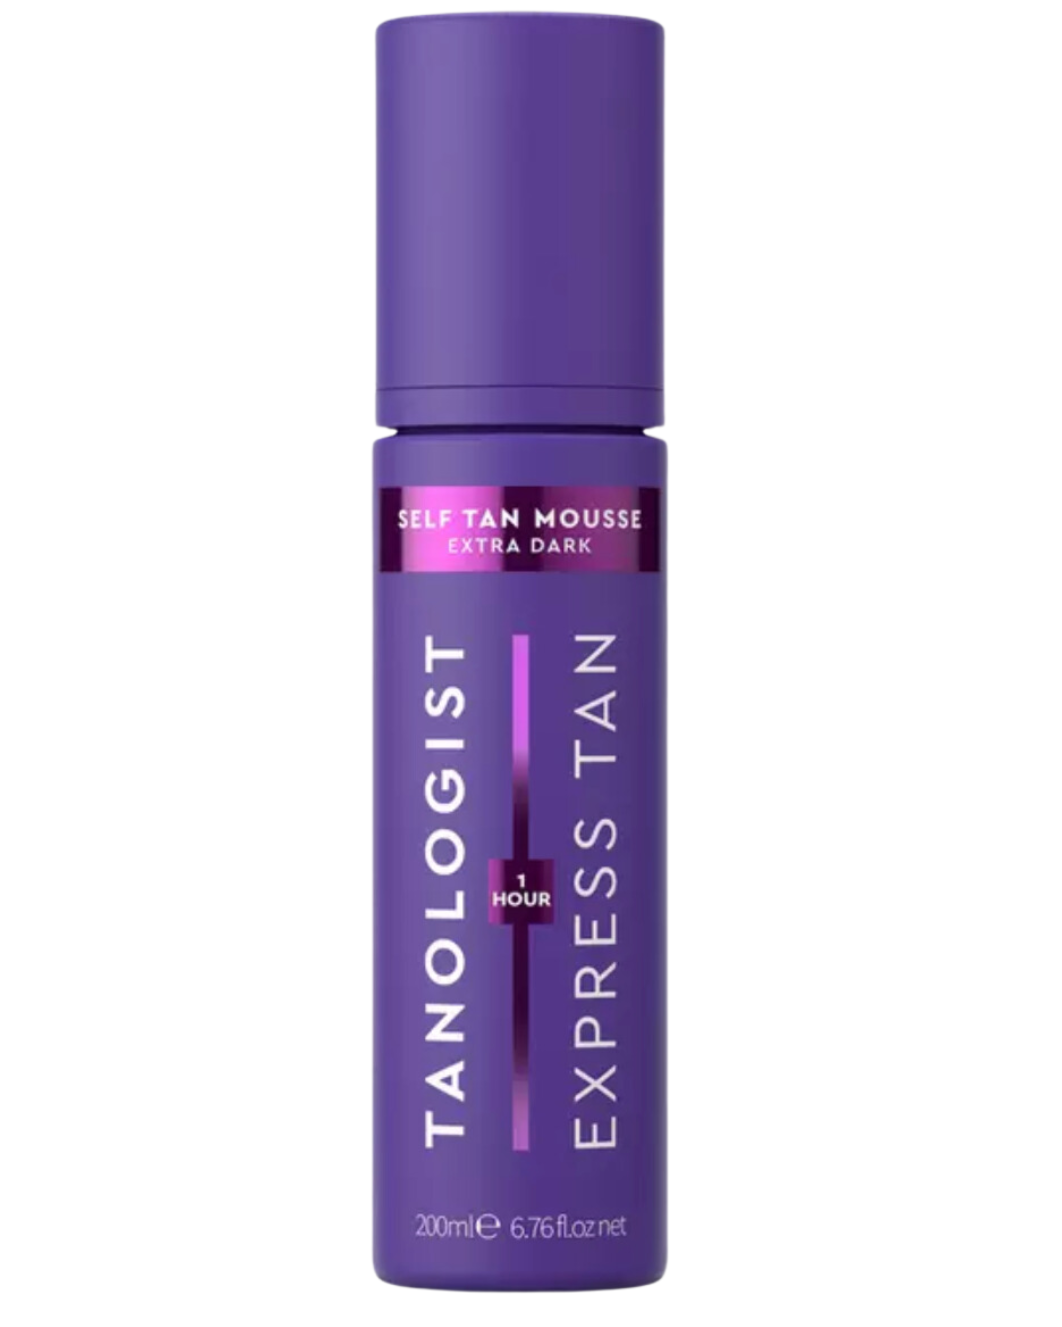
Tanologist Express Tan Mousse
If you need to look tan in a flash, try this 1-hour mousse, which would be a good option for those with sensitive skin. I like that it’s dermatologist-approved and that it’s free of the drying, streaky, and pore-clogging effects of traditional dyes.
Self-Tanners for Your Face
When it comes to tanning your face, it can feel like a whole new ball game. These face-specific self-tanners will help simplify the process.
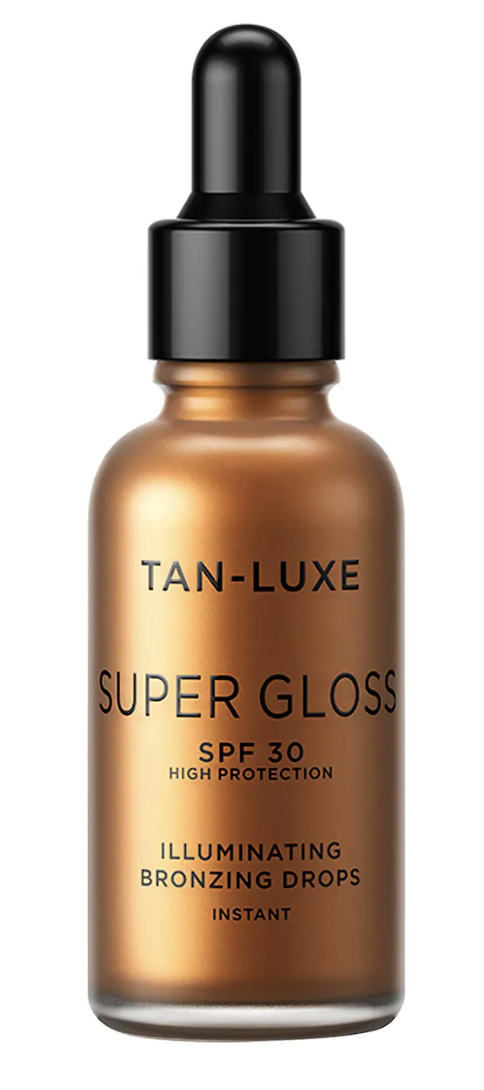
Tan-Luxe Super Gloss Face Drops
After using these face drops, I feel like every self-tanner should have SPF in it. It’s so convenient to use and I love that it offers skincare benefits while leaving you glowy. It’s also made with hyaluronic acid and squalane, two hydrating ingredients that will leave your complexion looking dewy and fresh.
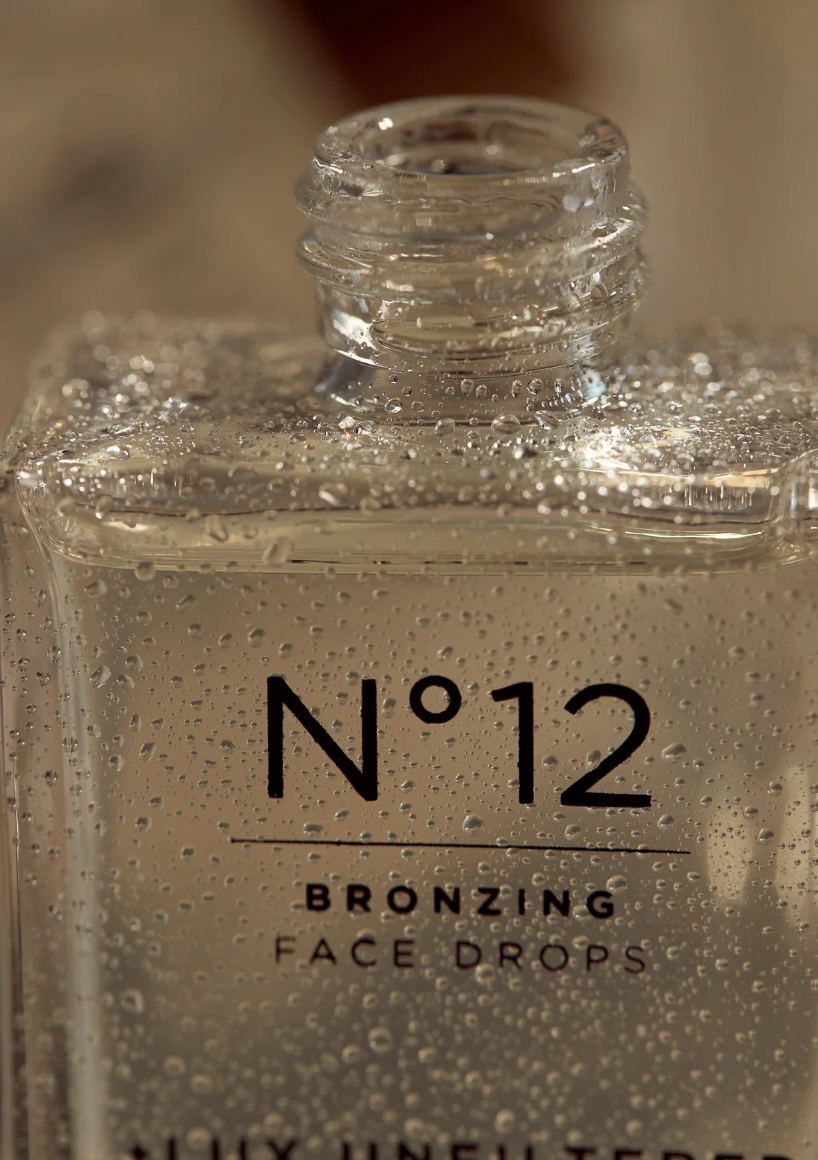
Lux Unfiltered Bronzing Face Drops
These bronzing face drops are completely customizable, meaning you can choose to look barely sun-kissed or like you just got back from a beach vacation. Another perk: they’re made without fragrance!
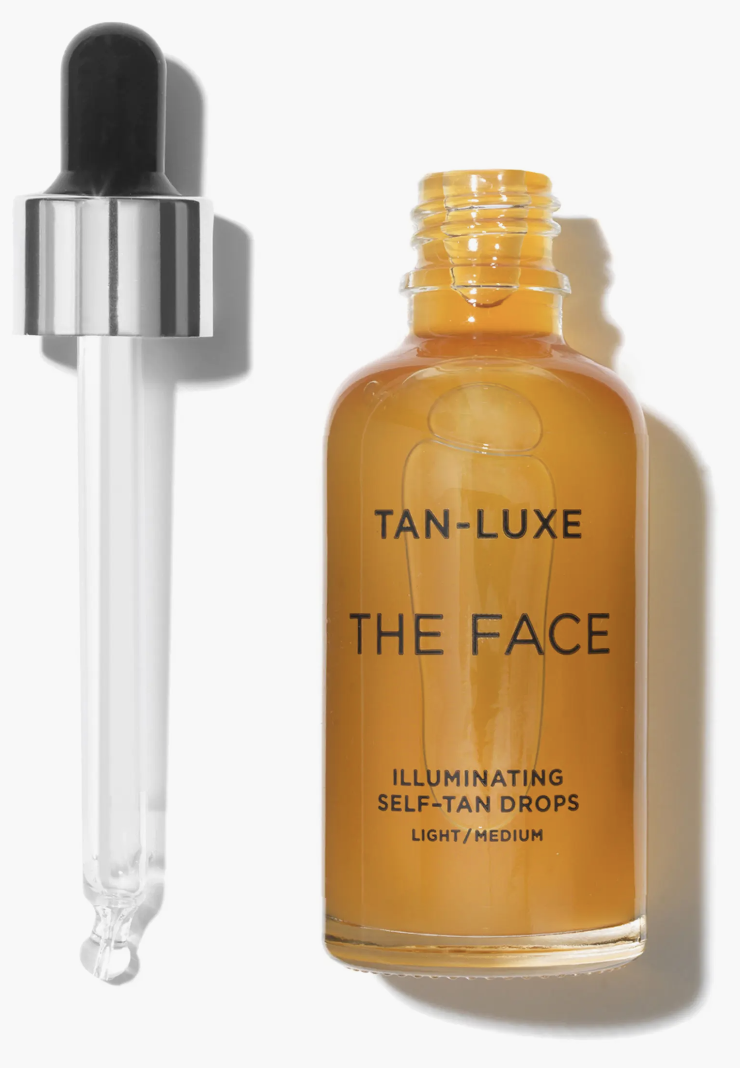
Tan-Luxe Face Illuminating Drops
Looking for something that’s easy to mix in with your existing skincare routine? Just mix these drops in with your moisturizer, serum, or a face oil and you’ll be set. Adjust the number of drops you use to increase the depth of your tan.
How to Apply Self-Tanner
If you’re a beginner or you simply need to reboot your tanning strategy, these step by step instructions for applying self-tanner will help you get a well-balanced look.
1. Exfoliate.
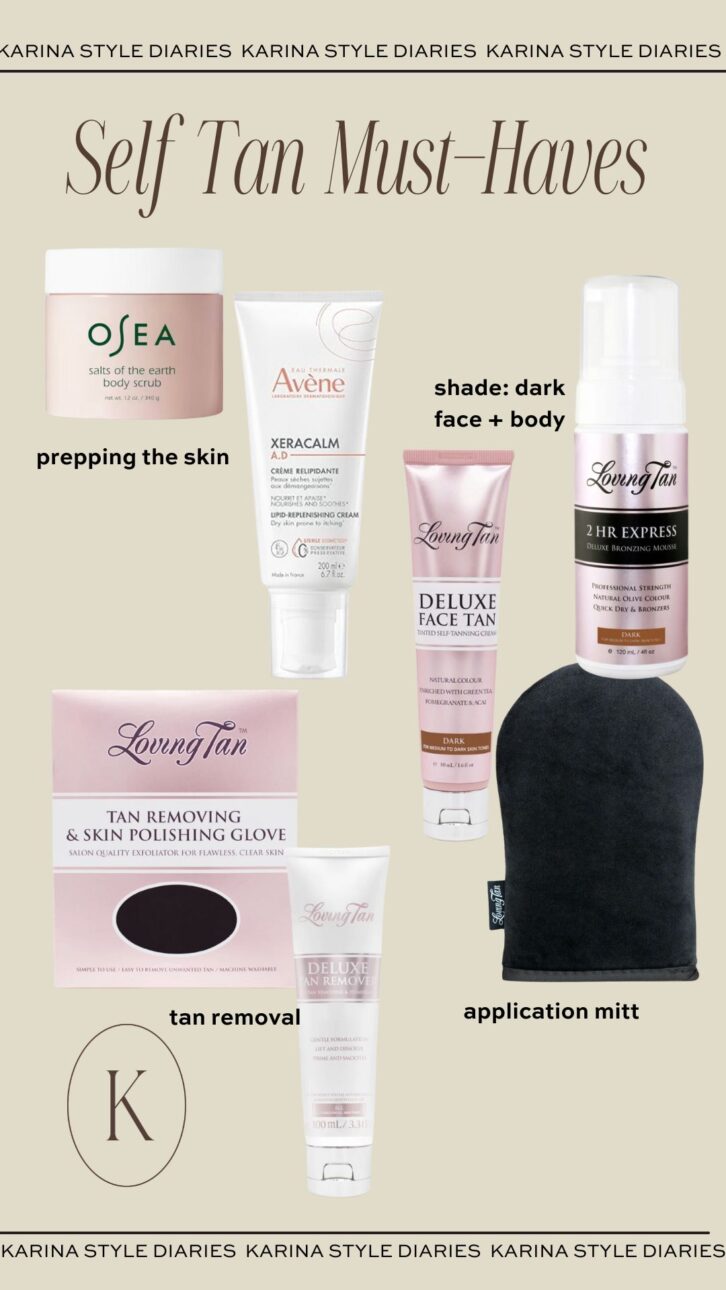
At least 24 hours before you apply self-tanner, you’ll want to slough off any dead skin by exfoliating. You can either do this with a body scrub or a wash cloth—just pay extra attention to rough or dry spots, like your elbows or your knees. My favorite exfoliatent that I find myself often repurchasing!
2. Take a shower.
You definitely want to start with clean skin, so be sure to shower before applying your tanner. It’s also important to shave beforehand so you don’t go over your self-tanner with a razor.
3. Apply the tanning product with a mitt.
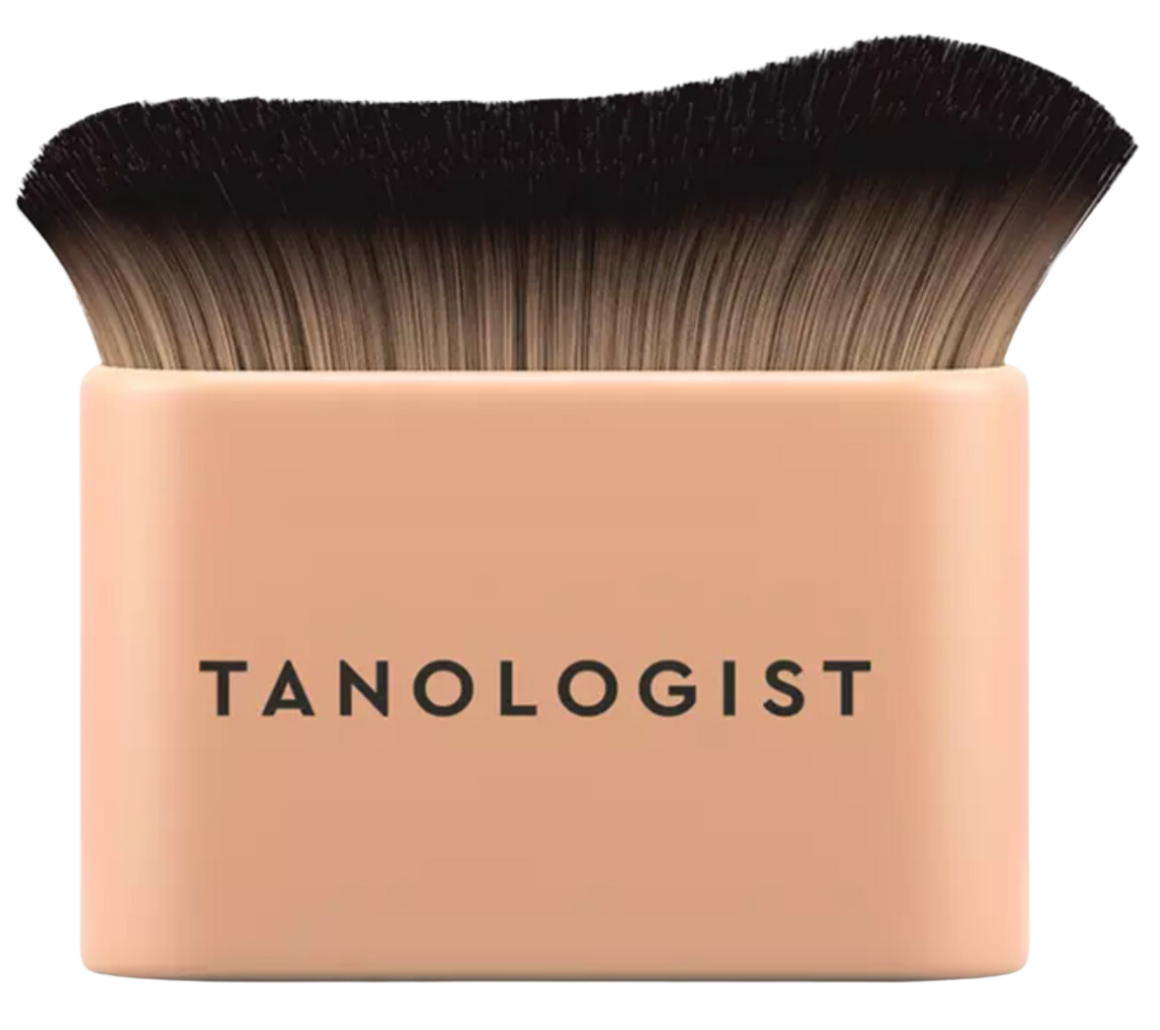
It’s important to reference the instructions on whichever tanning product you’re using, but generally speaking, the best strategy is to apply self-tanner to your body in a circular motion. Using a mitt or blending brush is key because they will leave you with the most even and flawless looking tan. I’m linking two of my faves below!
4. Remember to moisturize.
Once you’ve achieved your desired faux tan, you’ll want to take care of it! Do so by being mindful about moisturizing your skin daily. This is especially important if you plan on gradually increasing your tan or if you intend to reapply it regularly. My favorite moisturizer is at such a good price point and perfect for keeping your skin hydrated through the winter months!
How Long Does Self-Tanner Last?
It’s always a bonus when you can prolong the life of your tan, but generally speaking, self-tanner lasts about 7-10 days from application. If you’re using self-tanner for a special occasion or event, keep this timeline in mind!
Also, many of the self-tanners I shared above offer a gradual tan that you can build upon over time. I’d suggest trying that route out if you don’t have much experience yet—it will help you learn exactly how dark you want your final look to be.





Leave a Comment
Form Below