DIY Root Touch Up for Highlighted Hair
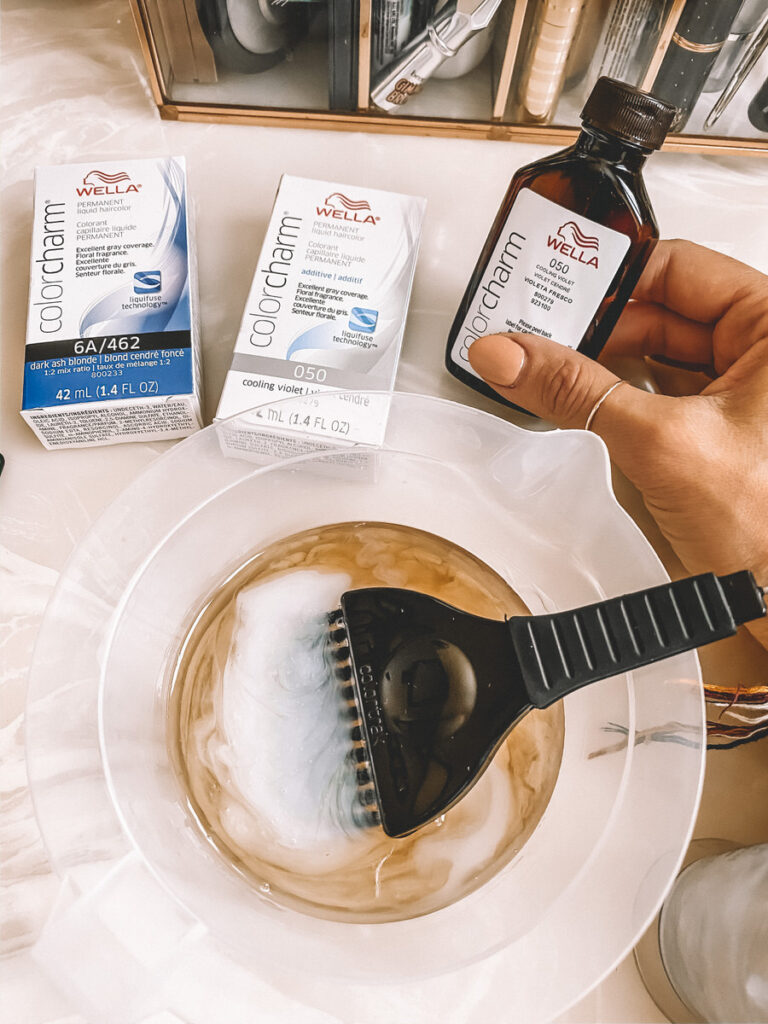
Last week I mentioned in my stories I touch up my roots at home and so many of you were interested in hearing more (the amount of DMs told me so!). Because the questions ranged mostly on how to not get the highlights affected I decided to show you my technique to DIY root touch up for highlighted hair!
In Between
One product I highly recommend especially if you have dark roots and have greys (like me!!! UGH!!). These root powder concealers are a life saving in between dyes or even if you go to the salon, they can help you space your appointments a bit longer.
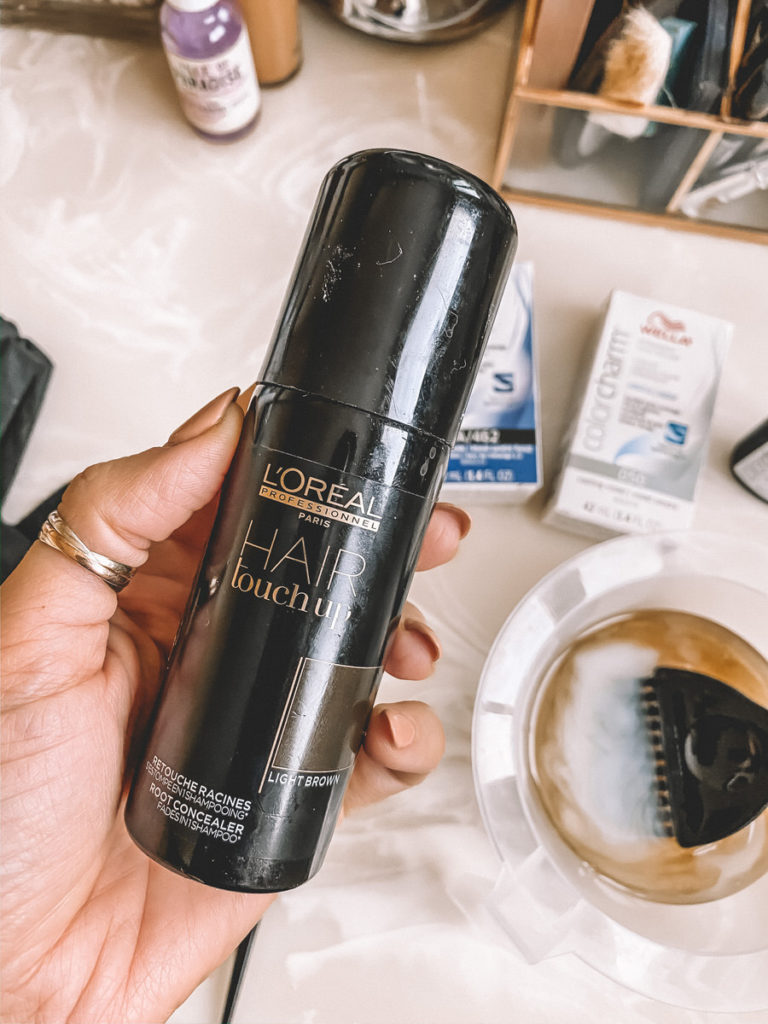
I couldn’t find linkable sites to link back to the L’Oreal one I have at home, I purchased this in Brazil and have had it for over a year. They can last you a while. I only do it on the front when I’m going out or so.
Root TouchUp
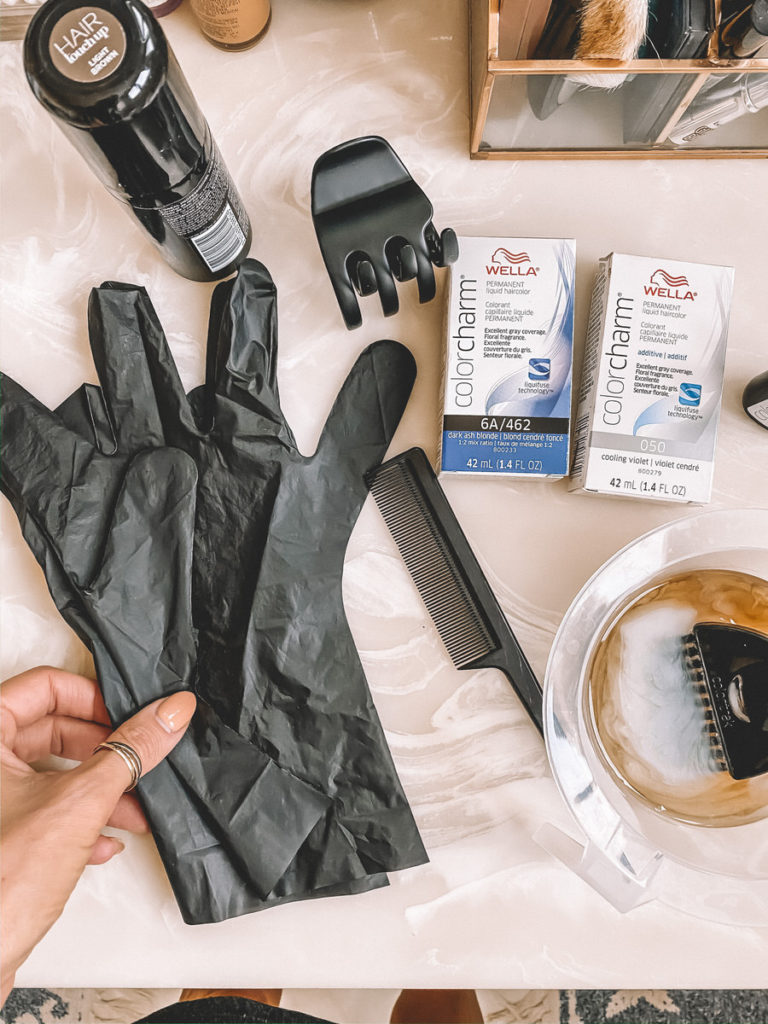
You want to ask your hair professional for the right color and go with a permanent dye, it’s less damaging to your hair then semi-permanent. Another important thing to keep in mind is that these products are professional therefore better for your hair than the pre-boxed kits you’ll find in the drugstore. You’ll need:
- Tint Brush
- Mixing Bowl
- Gloves
- Hair Color ( I’ve been liking the liquid lately but used the cream for years. No difference just a preference!)
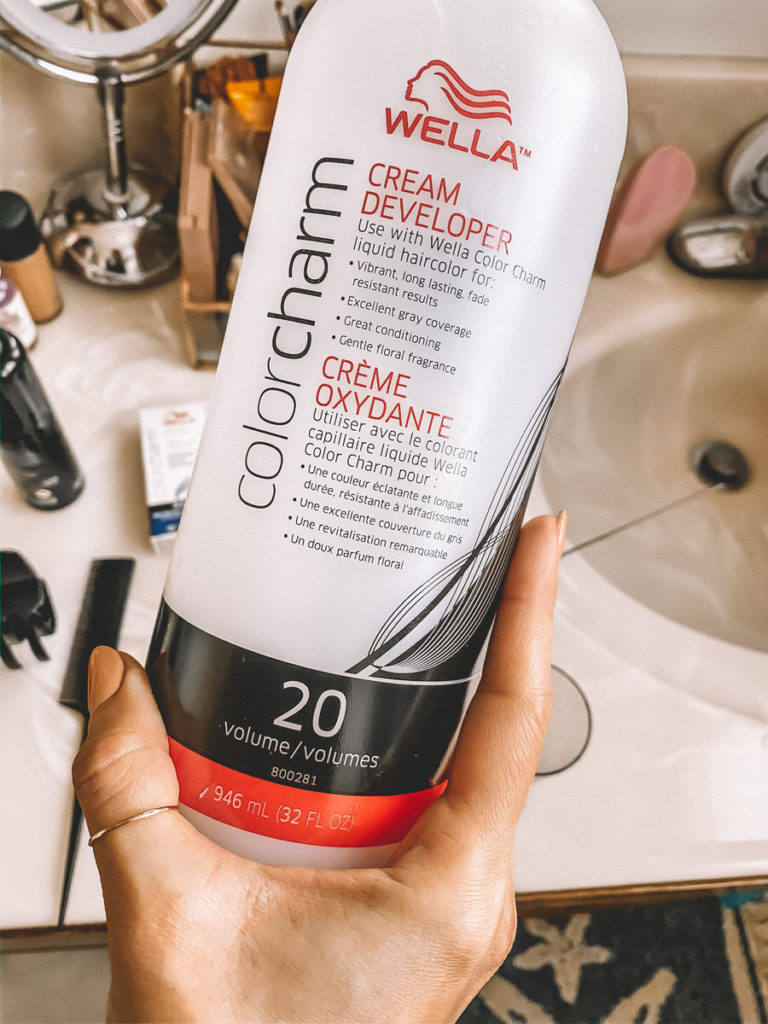
- Developer (usually a 20 works well for covering greys and not opening the hair cuticle too much) – most drugstore boxes have a 40 developer in order to make them work for “everybody”, that’s why they’re so damaging.
- Hair clips
It’s like a bit of a science to figure out what color to go with and it took me a lot of trials to get to this specific product and color I finally love.
For instance, my natural hair color is a medium brown #5 and if I try to lighten it up it pulls lots of reds and orange tones. Knowing that I made the choice to go with one tone lighter than my actual color in ASH tone = 6A (dark ash blonde). Ash will neutralize the warm tones. I also add a splash of a cooling violet additive into the mix to help with the neutralizing as well. You might not need all of this!
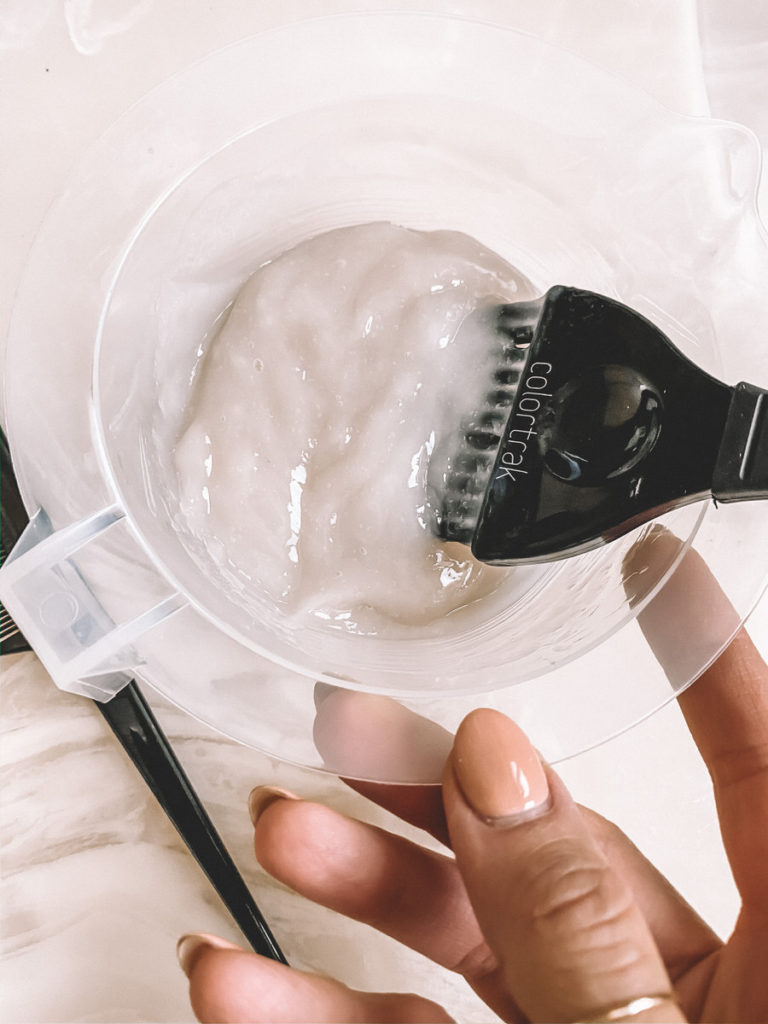
The ratio is 1:2 (one-part color for two-parts developer) I usually use the 40ml of color and mix with 80ml of a 20 developer plus a splash of the cooling additive.

Application
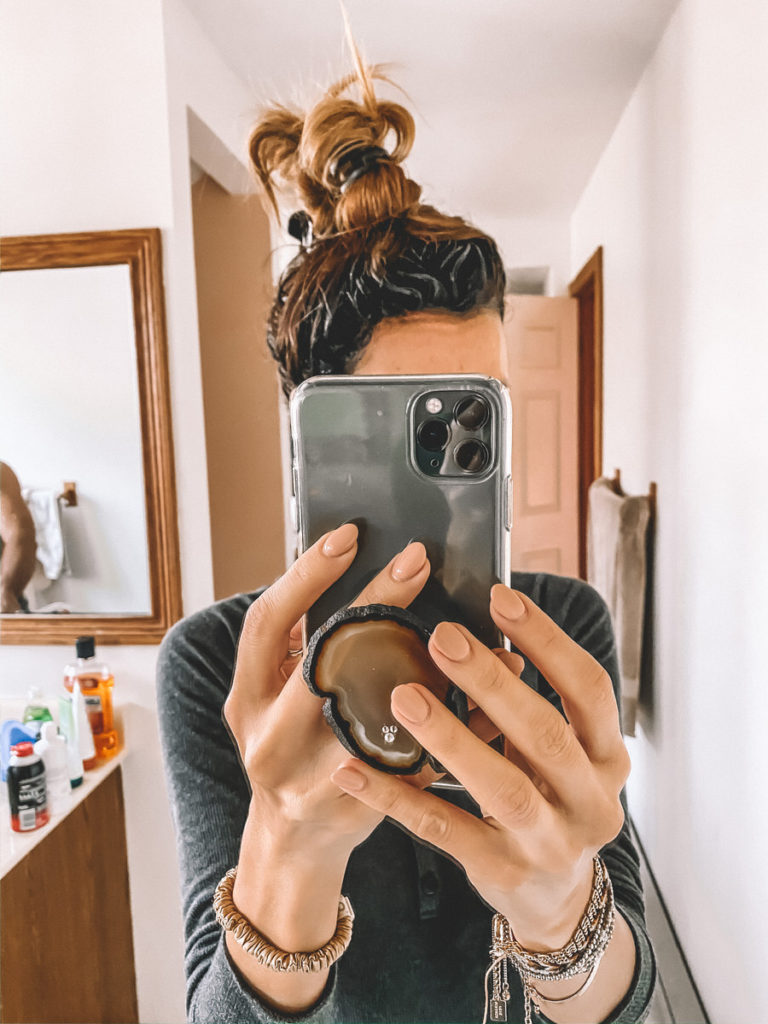
I usually section the hair into parts, front, and back. Part it in the middle and apply a small amount of the mixture on both sides of the hair. I like this brush because it has a metal back and makes it easier to part the hair without the need of a fine-tooth comb.
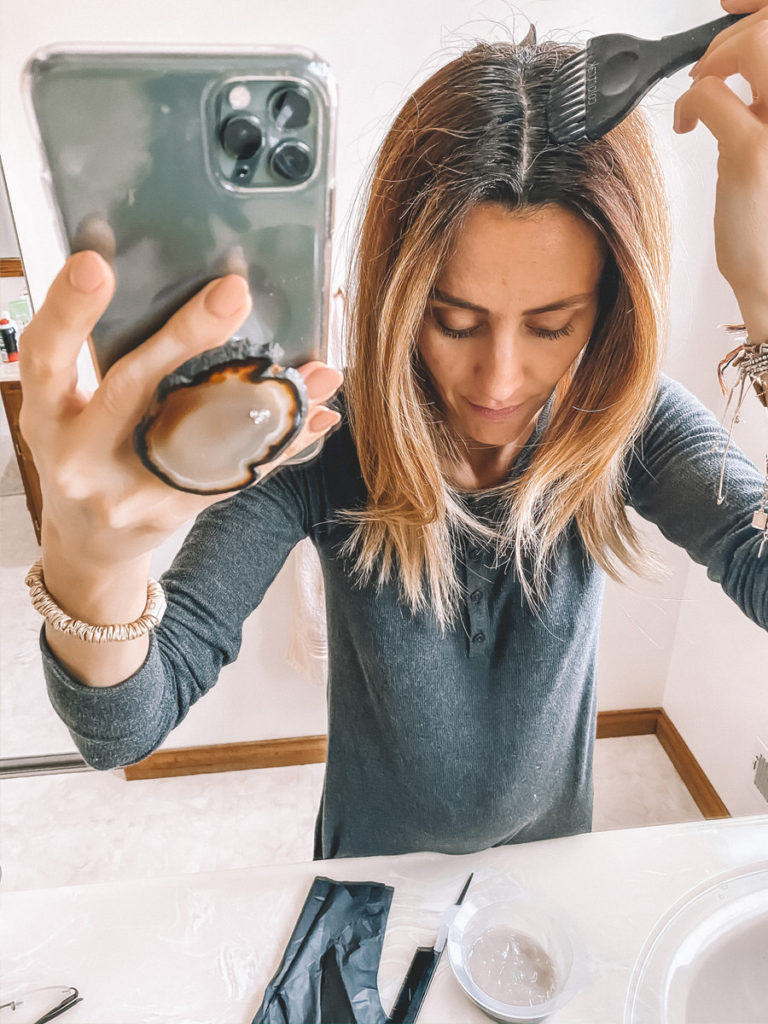
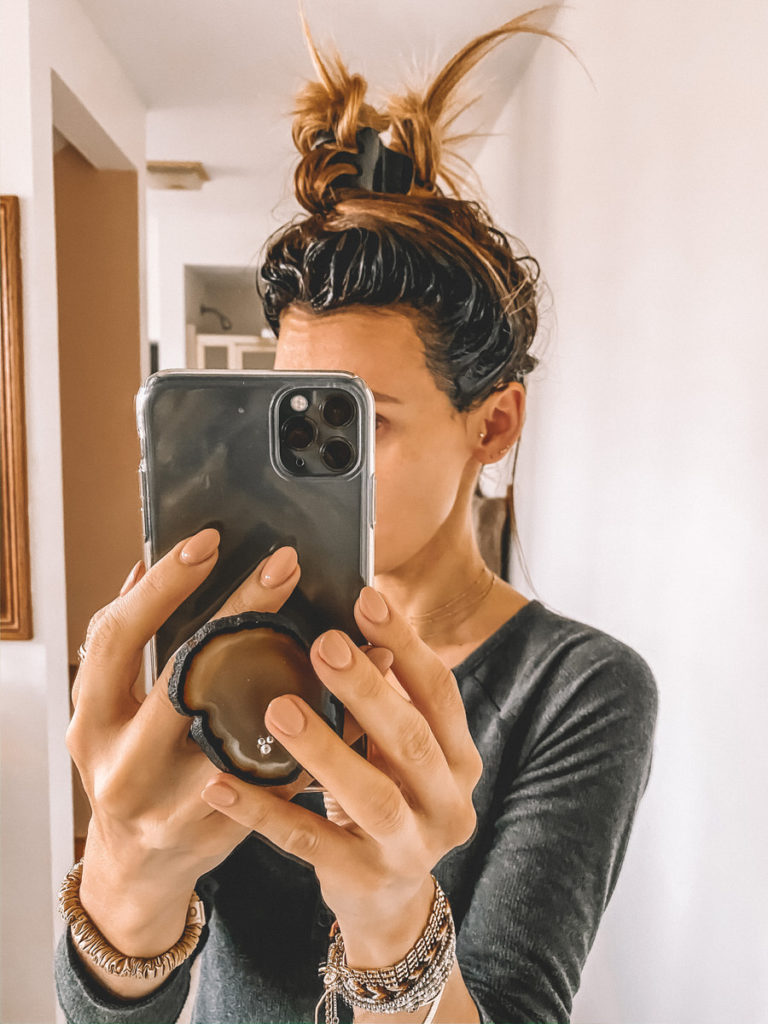
Using the end of the brush or a comb, I apply it to one side first then flip it back to the middle to work on sections on the other side. Once done with the front I put the hair up in a bun making sure it’s not touching the dye and secure it with a hair clip. Feel free to “wrap” the hair with a plastic film to make sure the highlighted part won’t get in contact with the mix. I did that for months before I finally got used to it 🙂
Continue to work on the back the same way. Use a hand mirror to guide you at first. Then wrap the hair up just like to front.
Processing
Takes anywhere from 35-60 min for stubborn greys, you’ll have to keep o checking. I leave mine on for about 45min.
Most Important: How to wash it off
If you’re worried about the highlights you’ll want to follow these steps:
Keep your hair in the buns and let the water run over them into the scalp. I rub my scalp and make sure most of the mix is washed off before letting down my hair and shampooing it.
This process allows me to go to the salon only once every three months for a highlight touch up or a cut!
I hope this was helpful, make sure to drop your questions here and I’ll ask my hairstylist if I don’t have the answers!
Beijos,
-K





Leave a Comment
Form Below