

My Top Self-Tanning Tips for a Glowy End Result
Nothing lifts my confidence quite like a good tan; however, the thought of baking in the sun gives my skincare loving self a dose of stress.
Rather than exposing myself to unnecessary rays, I find myself regularly reaching for the self-tanner. Whether I’m prepping for a vacation, heading to an event, or simply just want to give my skin color some life, self-tanner is a holy grail in my beauty cabinet.
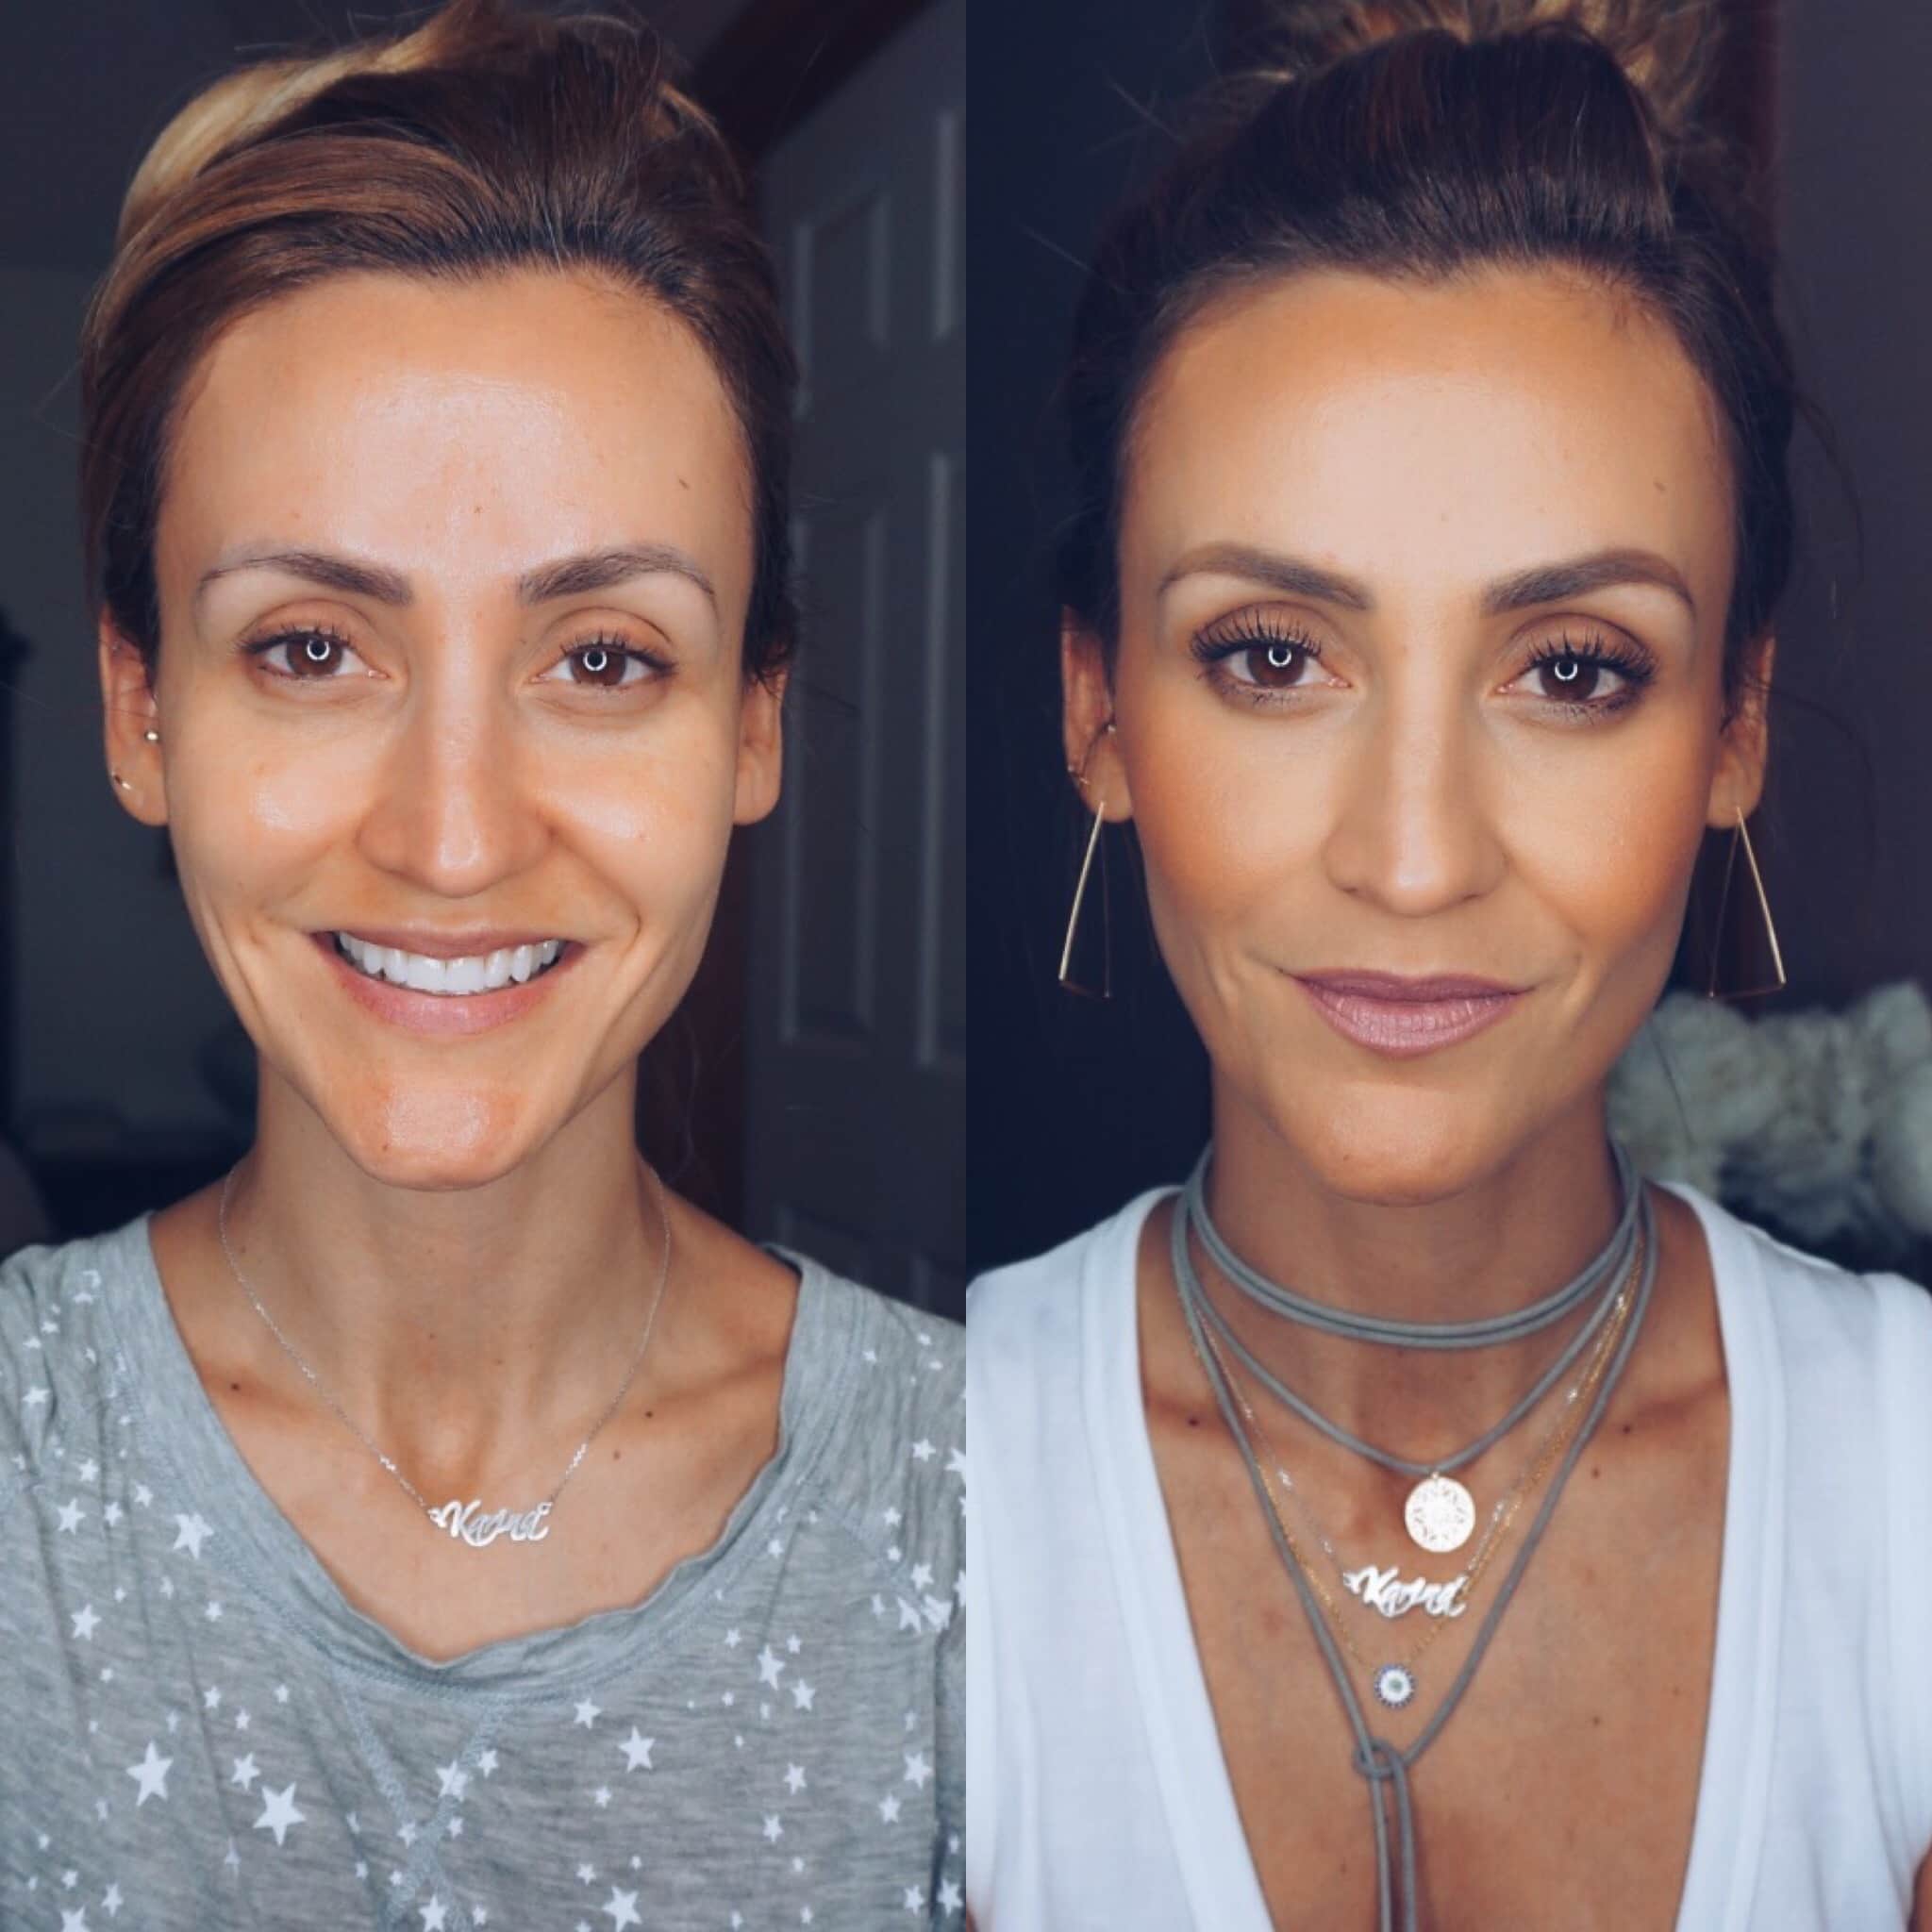
Over the years, I have tried my fair share of self tanners, as well as different before and after steps to try and achieve the most hydrated and bronzed look. While I’m admittedly not a pro, I finally feel like I have a good routine down and thought I’d share it here with you!
You might think self-tanner is easy to use, but nailing the process and landing with a clean and pretty end result isn’t always smooth sailing. What you do before and after applying self-tanner can drastically impact the look you’re left with. As with anything, practice makes perfect, so if you have trouble when you’re first starting out, don’t be discouraged!
Here, I’m sharing the steps I follow during my self-tanning routine along with my top self-tanning tips and tricks. From exfoliating and moisturizing to using a proper mitt, I’ve got you covered.
Self-Tanning Tips

What to Do Before Self-Tanning
There is a lot of advice out there when it comes to what to do before self-tanning. While different approaches work for different people, my greatest success has come with three simple “before” steps:
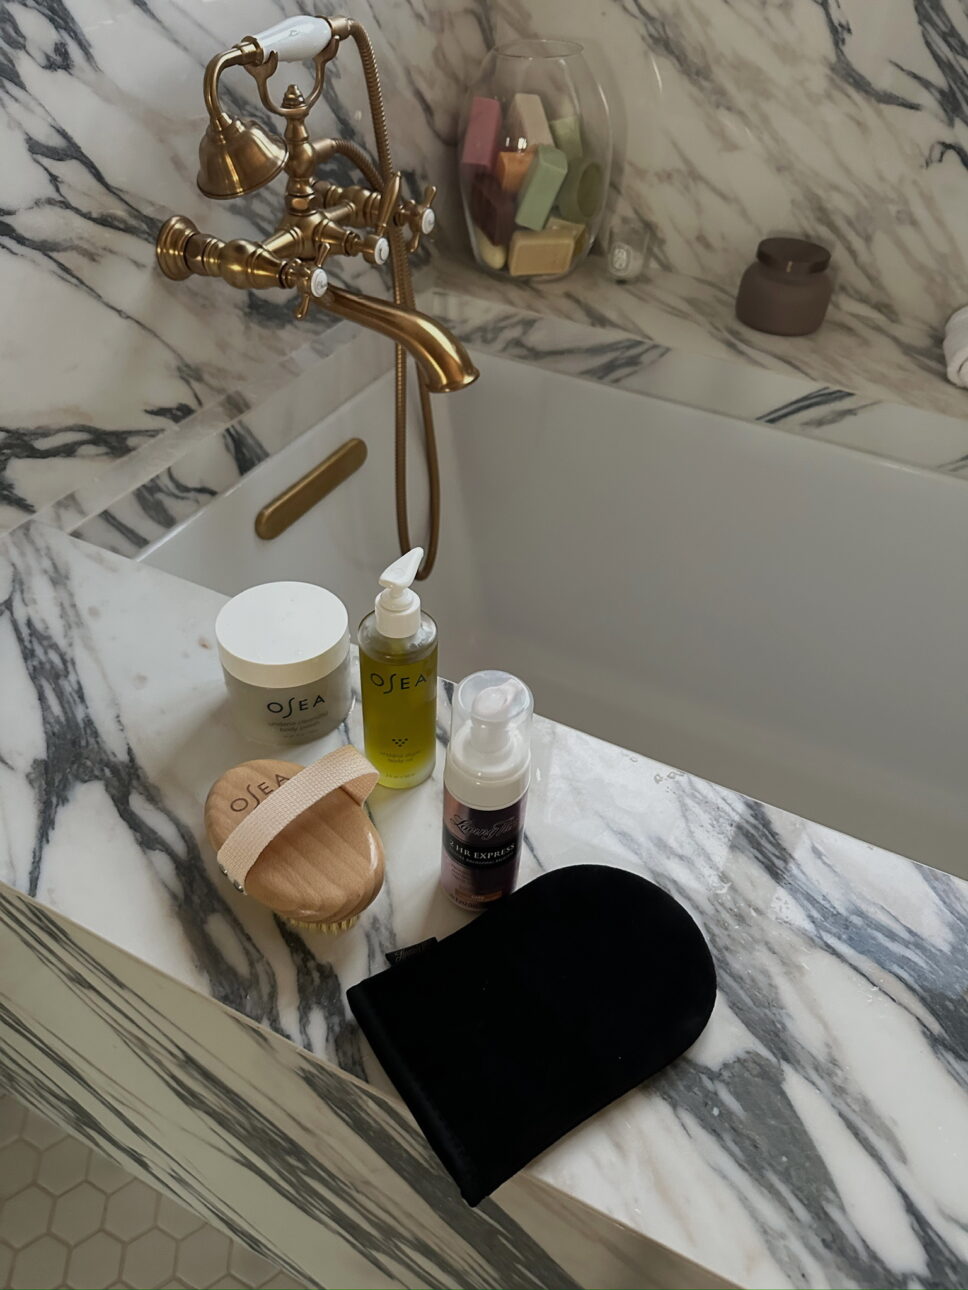
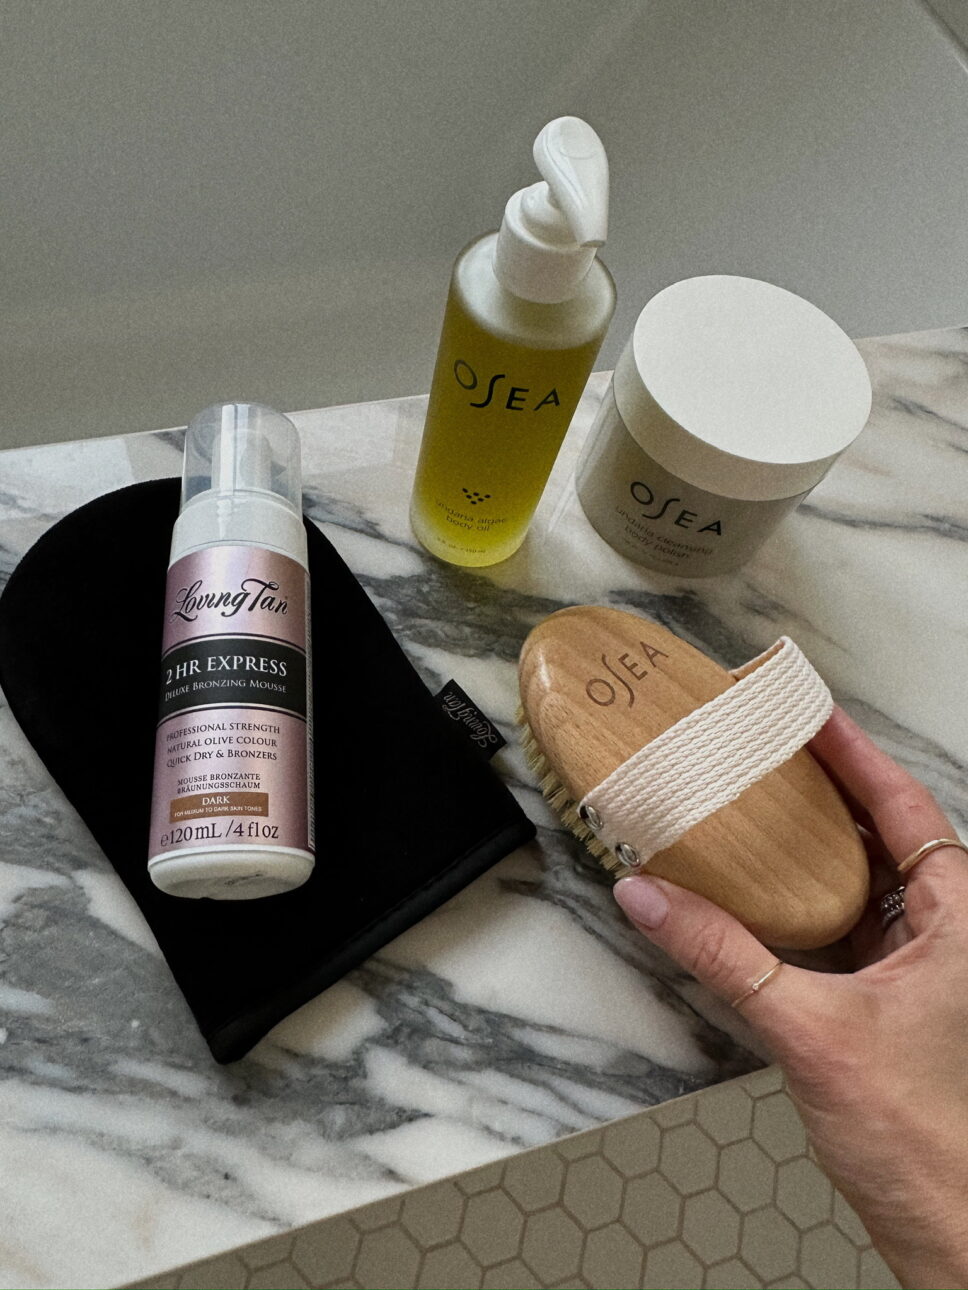
Dry brushing, using a body polish, and applying a rich body oil.
It’s also worth noting that if you need to shave sometime around when you apply self-tanner, it’s always best to do that first. You don’t want to apply self-tanner then need to shave the next day — it can impact the integrity of your tan!
How to Prep the Skin
1. Dry brush. When prepping for a good self tan, removing your dead skin cells allows for your tan to go on in a smooth and even way. My go-to exfoliation method is to use a dry brush.
If you’re new to the dry brushing game, trust me when I say you’ll be obsessed after just one try. It’s such a nice ritual to practice even when you’re not getting ready to apply self-tanner.
When dry brushing, be sure to start at the bottom of your body and work your way up in the direction of your heart. This brush has been my favorite as of late — the handle makes it easy to hold and it’s under $30!

2. Use a body polish. Take your exfoliation up a notch by incorporating a body polish into the mix. After you dry brush, use this rich yet gentle pick to slough away any remaining dead skin. I love this particular body polish because it’s hydrating (and it smells great!)

3. Apply body oil. Finish your prep routine by applying a body oil to your freshly exfoliated skin. This will ensure you have a hydrated and moisturized base for your self-tanner to seep into. Tip: Be sure your skin is fully dry before applying any self tanner.

How to Apply Self-Tanner
After prepping your skin, the fun can begin! Applying self-tanner can be done in a multitude of ways, but I personally love the classic mitt and tanner method. I occasionally will call on my Hunny Buns to make sure I got all of my back (some spots are just tough to reach!)
I love the quick satisfaction of a 2-hour self-tanner, but I also use an overnight tanner from time to time — both options provide beautiful results.
p.s. Need a list of the best self-tanners for beginner’s? Check out this blog post.
Applying Self-Tanner to Your Body
I always begin by wearing a tanning mitt (this one is my top rec!) and applying a generous amount of product to my legs. I work the product into my skin in a circular motion until all my legs are covered, then I move to my torso, chest, and back (applying more product through each section with the same circular motion.) Before taking the mitt off, I always do my arms and shoulders (stopping at my wrists.)

Applying Self-Tanner to Your Face
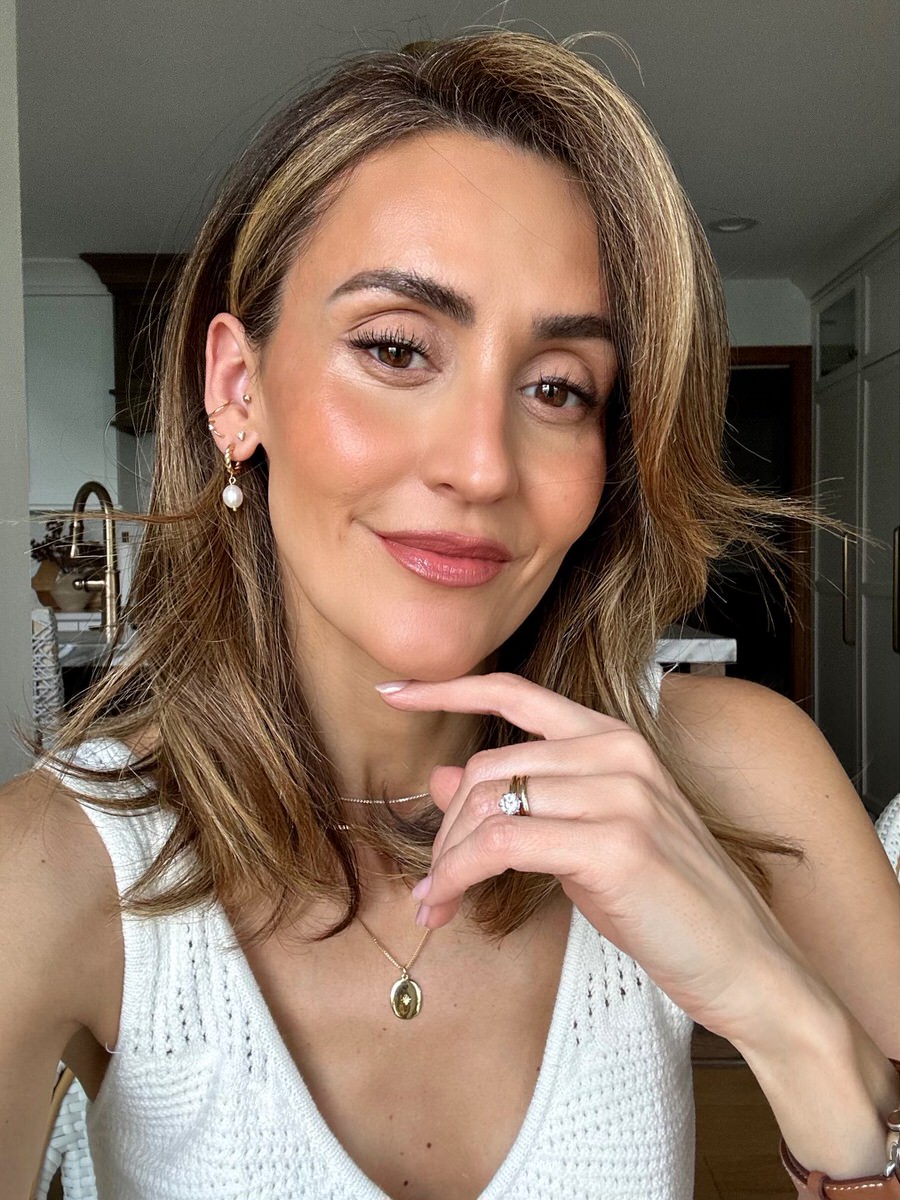
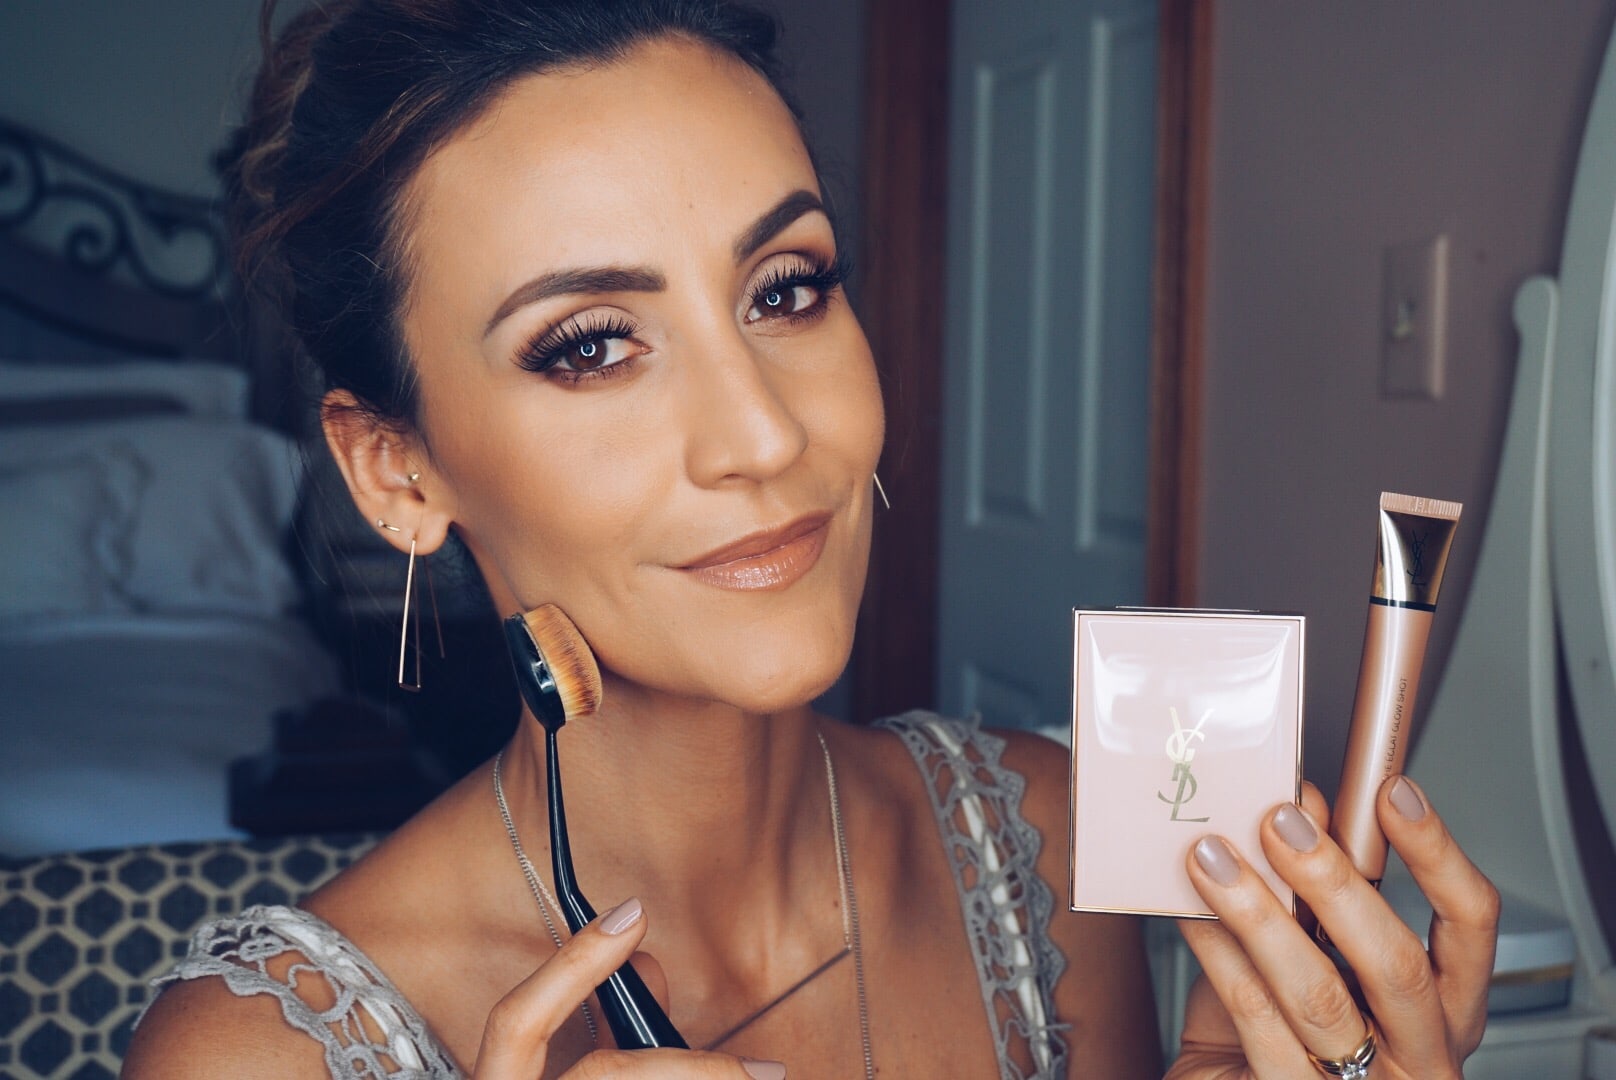
After my body has kickstarted the process of developing a bronzy glow, I apply self-tanner to my face and neck. I use my hands to do this portion and swear by utilizing a face-specific self-tanner for the most natural looking results.
After I have applied the product to my face and neck, I immediately wash and dry my hands to remove the product (no streaks here!)
Applying Self-Tanner to Your Hands
This is a section you may not have expected to see in this post, but it’s so crucial that you don’t neglect your hands and fingers. It would look quite silly to have your hands be a totally different color than the rest of your body, right?
As the last step in my self-tanning routine, I use a wide makeup brush to apply tanner to the tops of my hands and in between my fingers (avoiding my palms, which are a naturally lighter color.)
This brush technique allows for the tan to blend well without creating blobs that are uneven. So many people miss this step and end up looking like they forgot to tan a section of their body!
What to Do After Self-Tanning
Immediately After
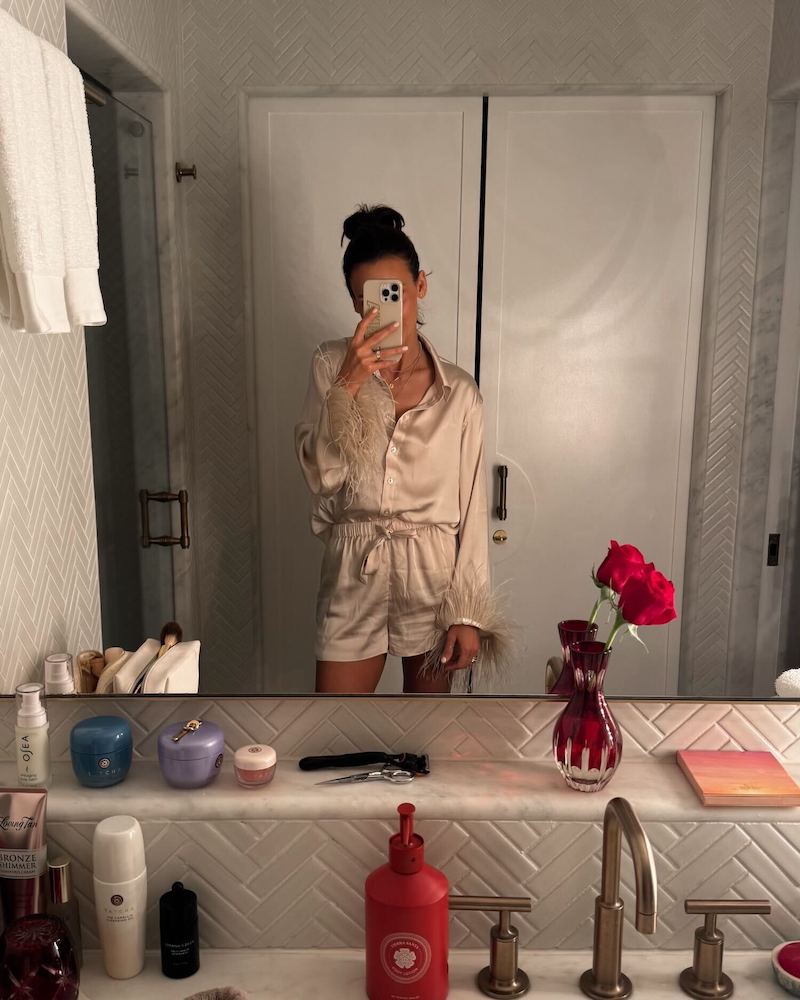
After I’ve gone through the application process, I allow my body to fully dry before putting on my clothes. I always suggest slipping into something loose and breathable so you have the least amount of contact with your clothing and your self-tanner. Opting for a dark pair of pajamas or a roomy loungewear set are two great choices.
Ideally, I like to sleep with my self-tanner on so my skin can really bake in the color. If you’re short on time, waiting 3-5 hours before washing is also okay!
Time to Rinse
When your self-tanner has had time to set, the first thing you’ll want to do is rinse it off. No one wants to smell like self-tanner, nor do they want to transfer it to any other of their clothing. Showering and taking a light body wash to the skin allows for you to ensure that no product is lingering that could result in color transfer.
After your shower, apply a replenishing body lotion (this one is wonderful!) I’d also suggest moisturizing your face with a rich cream. Hydrating your skin is a necessary step to complete after you soak up a darker color!
My Favorite Self Tanners
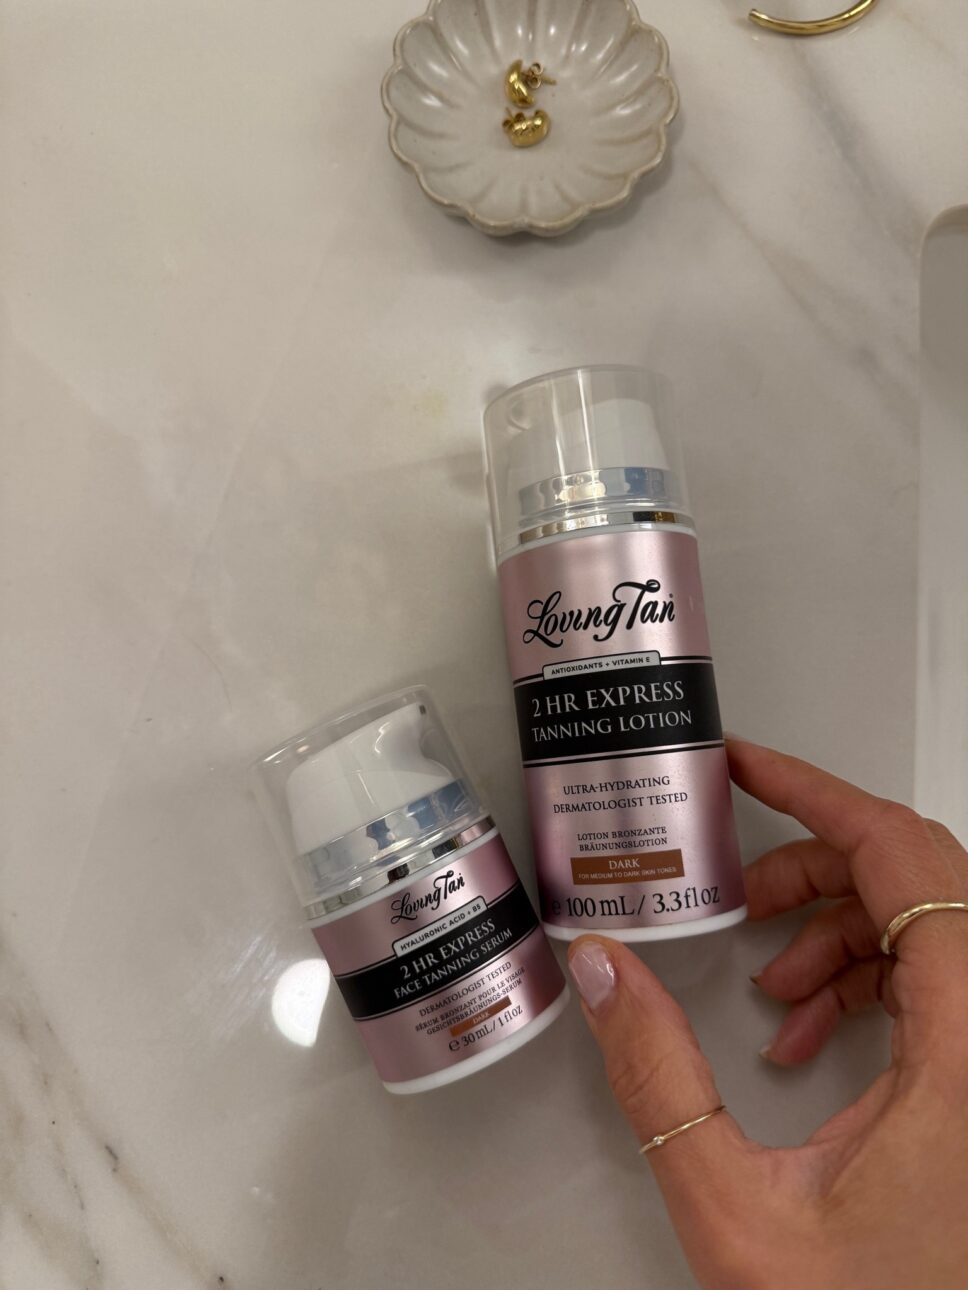
Loving Tan 2 Hour Express Mousse
Have a last minute event to attend? This Express Mousse offers amazing instant color that makes it perfect for any urgent occasions. My favorite thing about Loving Tan Products is the color and that it doesn’t smell as bad as some of the others do that are out there.

Loving Tan Platinum Mousse
An overnight self-tanner typically provides the best results. This one sets slowly and effectively so your body can really soak in all the color. Plus, this pick has always impressed me when it comes to longevity!

Loving Tan Deluxe Face Tan
Sometimes putting body focused products on your face isn’t the best move, which is exactly why I’ve switched over to this face specific self-tanner. It’s much more gentle on my skin and is ideal if you have any skincare concerns or a sensitive complexion.

Have any questions about my self-tanning routine? Want to share your top self-tanning tips? Leave a comment in the section below!

Leave a Comment
Form Below