


How to Create an At-Home Spa Day


Summer is coming to an end and we’re saying goodbye to summer vacations (boo) and saying hello to a new, busy season! Although there is definitely excitement associated with a new time of year, it’s easy to get super busy with work, kids going back to school, and just life in general. We know we feel like the months have been flying by! With the craziness of a new month and a new season quickly approaching, we need a little R & R. But… carving out the space to take some self-care time can be difficult. There are easy ways to practice small acts of self-care (check out some of Karina’s faves in her spring morning routine blog here) but sometimes, you just need an entire day!
There are many ways we participate in self-care, but one of our all-time favorites is by creating an at-home spa day. Don’t get us wrong, we love going to the spa, but it can be expensive and the time spent there always goes by way too fast. Creating an at-home spa day allows you to customize everything just how you like it, and prolong the “spa treatments” however long you’d like them to be. We know, an at-home spa day sounds nice in theory, but how do you put one together that’s actually relaxing, lux, and refreshing? We put together the step-by-step on how exactly to create your at-home spa oasis plus a few of our spa-day essentials to make your day of R & R absolute perfection.
Step 1: Get Prepared
If you don’t have the proper items to create your at-home spa day, it’s time to grab them, girl! Grab your favorite skincare products, shop for a few candles, find your perfect playlist or movie you’ll be watching, secure any snacks or drinks you want, and get prepared with everything else you might need. Doing this the day of kind of defeats the purpose of relaxation, so make sure you have everything you need before your day of pampering.
Step 2: Set the Scene
To really create an at-home spa day like no other, you need to set the scene. We’re not talking throwing on a sheet mask and sitting on the couch like any other night. Set up a space where you can relax, light some candles, create a good ambiance with music (or if you’re putting on a movie, that works, too), add some comfy pillows, and do whatever you want to make the space your personal oasis. Part of the amazing experience at an actual spa is being in a relaxing ambiance, so recreate whatever that looks like for you the best you can at home.
Step 3: Unplug (fully!)
This might be the most difficult part but it is so crucial for a successful at-home spa day! Tell your family, roommates, or whoever you live with that you’re taking some uninterrupted R & R time so you can do your thing. That way, you don’t have family or friends disrupting your zen. Also, put away your phone. Yep, that’s right! No phones in this spa! The notifications and emails can wait until your pampering is complete. Doing an at-home spa day with friends is always fun, so if you don’t want to partake alone, invite your best girls or guys over for a day of relaxation and do it together.
Step 4: Commence R & R
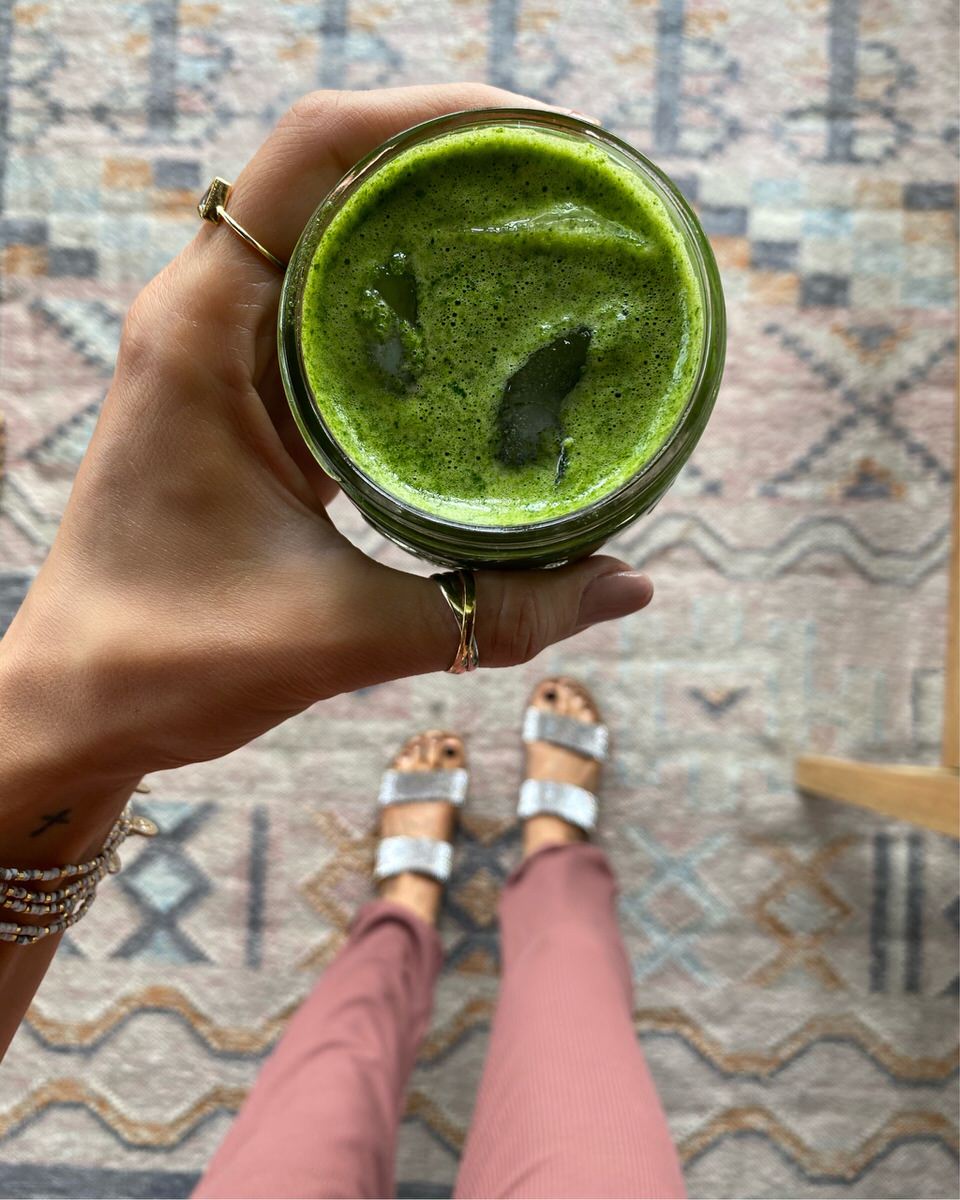
Finally, the best part, enjoy your spa day! Pour yourself a glass of wine or kombucha, do your skincare, and relax. Our favorite part of creating a spa day is by giving ourselves a nice at-home facial! You really only need a few products and it’s most likely things you already own. Here’s how we like to do our at-home facial:
Face Mask: After cleansing your face, put on your favorite face mask. This can be a sheet mask, clay mask, or a mask for a specific area like your under eyes. Let sit for however long your mask specifies and enjoy. Here are some of our favorite face masks:

Oil or Serum: Next, apply your oil or serum of choice. Depending on your skin concerns (like fine lines, acne, dryness, etc.) you can find a serum or oil that will best fit your needs. Make sure it’s something that can comfortably sit on your skin and has a little bit of slickness. Here are our faves:
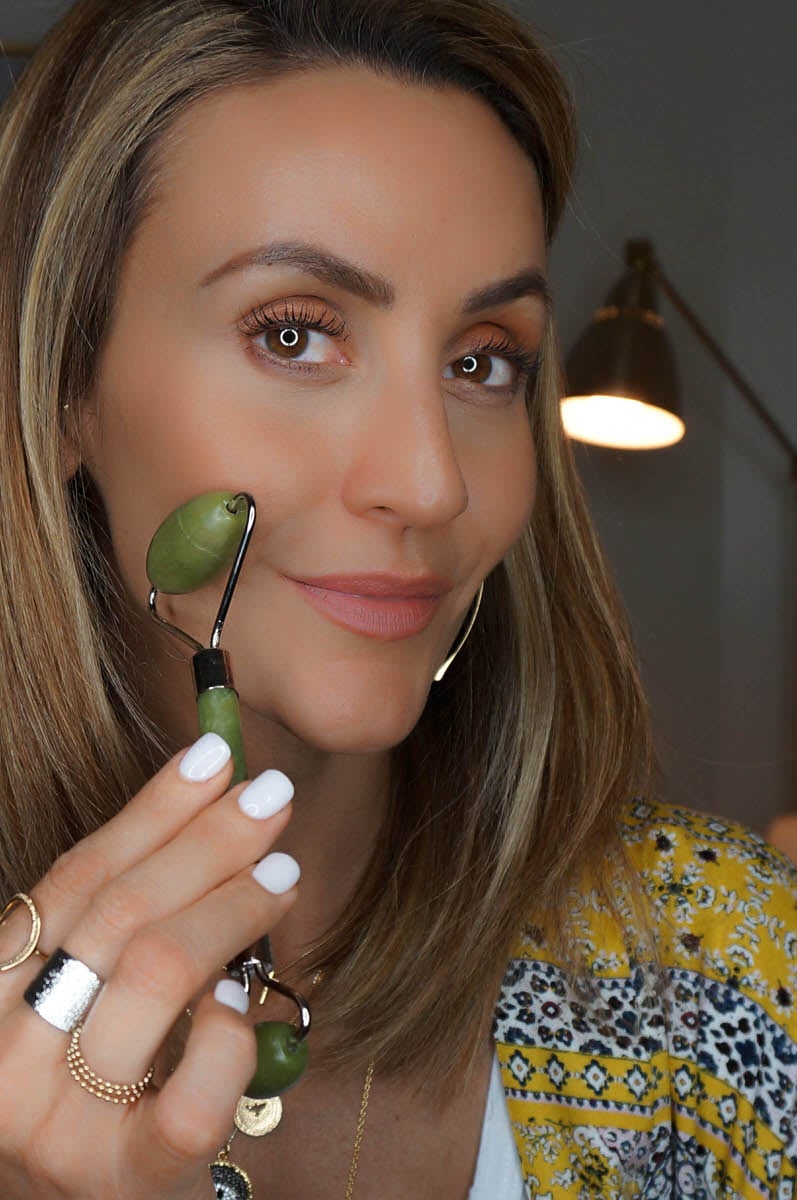
Gua Sha: With the serum or oil on your face, use a gua sha or roller to massage the serum into your skin. We especially recommend putting your gua sha or roller in the freezer or fridge to make it cool before applying to your skin. So amazing for de-puffing! Here are some of our best facial tools:
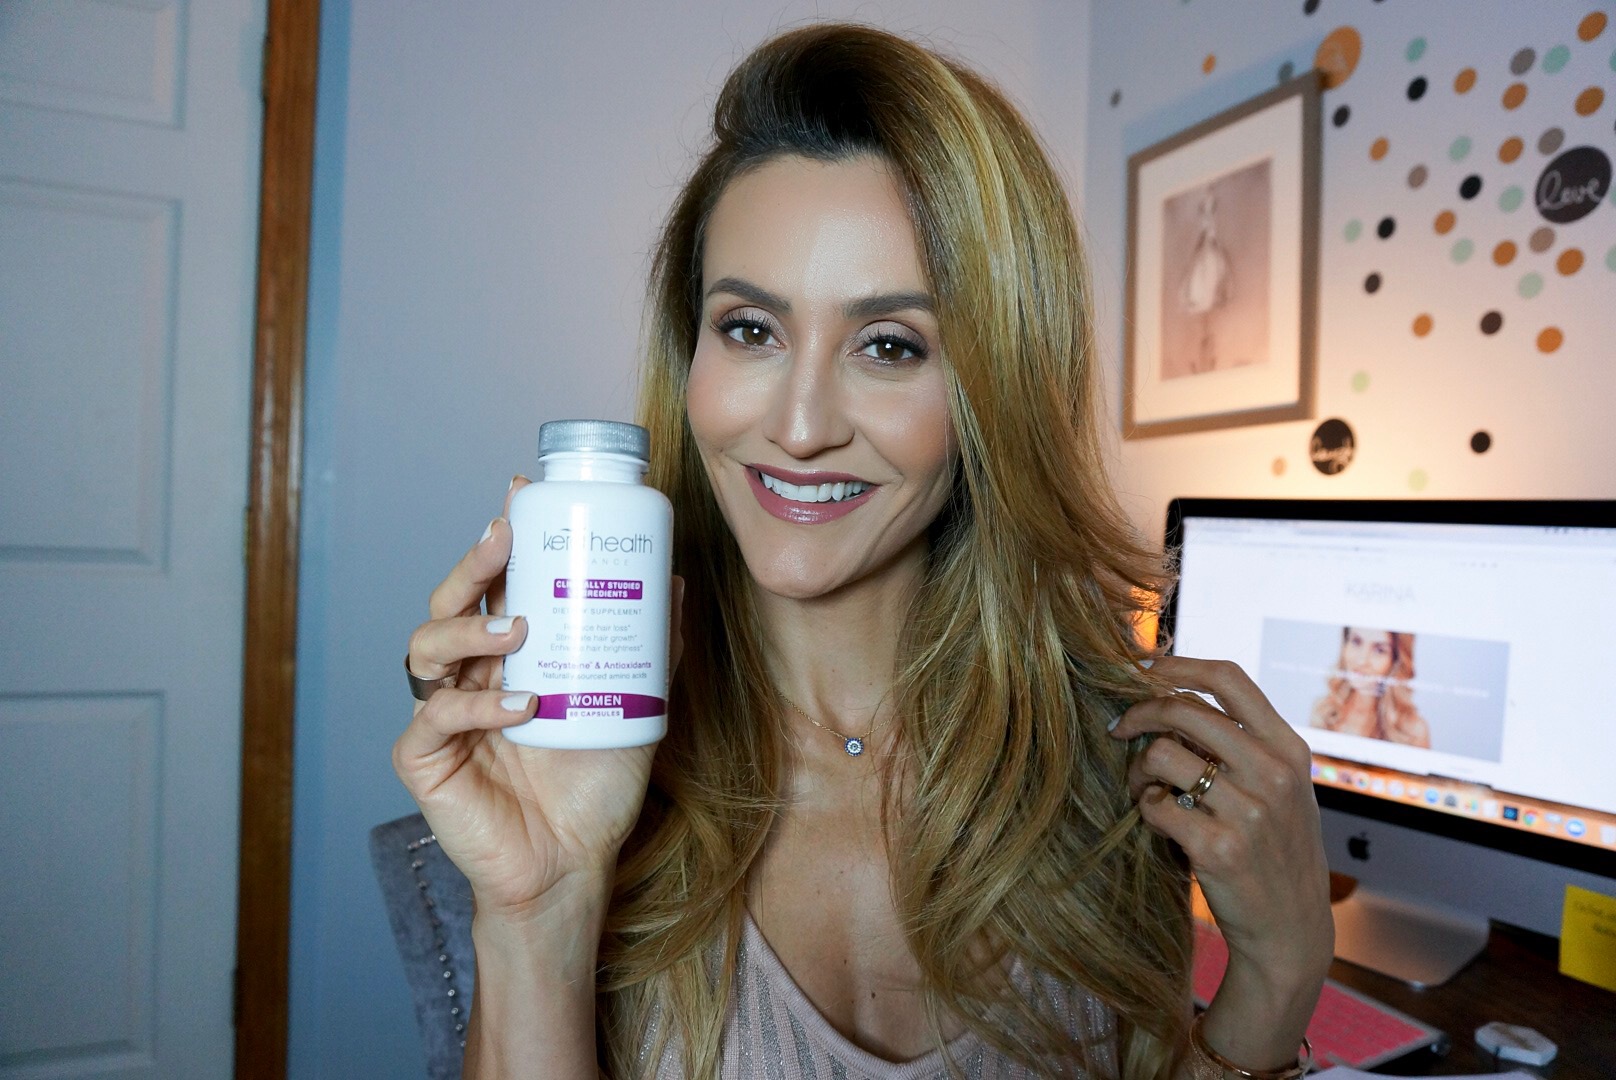
Moisturizers: Lastly, after your serum or oil is absorbed into your skin, apply your favorite moisturizer to complete the facial and say hello to the glow! Here are our go-to moisturizers:
Pro tip: If you can, steam your face before you begin your at-home facial for maximum results and absorption of product! We love using a facial steamer like this one, but you can also jump in a steamy shower for a few minutes for a similar effect.
We can hear the R & R calling! Let us know if you try out an at-home spa day or your favorite ways to enjoy a little self-care at home in the comments!
Xo, KSD Team


Leave a Comment
Form Below