


How to Get a Salon-Worthy At Home Blowout
Whether you typically head to your local salon for a hair cut or some highlights, I would say it’s a safe bet to assume you love leaving with a fresh blowout. There’s just something about a salon blowout that’s an instant mood booster—it makes you feel more put together and offers you a more glamorous look. However, recreating that same hairstyle at home can feel almost impossible.
If you’ve tried (unsuccessfully) to give yourself an at-home blowout, I’m happy to share that I’ve learned a handful of tricks that make the process easier—and I’m spilling all of them here with you!
I feel like I’ve tested just about every hair tool on the market, and after years of trying out different hairstyles, I’ve finally nailed the blowout look. With that being said, I would encourage you to have some patience with yourself as it does take time to get the hang of styling your hair this way. I also will say that having the right tools and using quality products makes a big difference in how your look will turn out, but also in how long it will last.
Below, find all my tips on how to blowout your hair at home, as well as my go-to products for a salon-worthy look.
How to Do an At Home Blowout


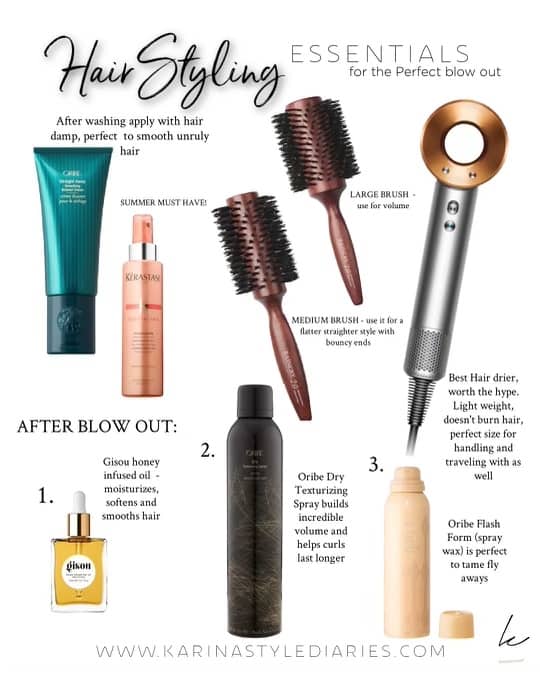
1. Start with a quality heat protectant.
This is an absolute must-do step in my book. Even if you don’t have dry or damaged hair, it’s always smart to use a heat protectant when styling. I add one to my hair after lightly towel drying it and right before I start to blow dry.
There are tons of heat protectants on the market, but I personally love this hair oil because it hydrates while offering protection. It also smells amazing and doesn’t leave my hair feeling greasy at all.

Also, while this strengthening treatment isn’t a heat protectant, it’s a highly nourishing leave-in mask that I’ve been loving. You can spritz it in your hair before you dry it and it will help prevent breakage when you’re styling.

2. Consider your lineup of products.
While I’d argue that a heat protectant/oil is the most important product you use before you give yourself a blowout, there are also some other finds I’ve found to help with giving me that post-salon look.
Kerastase has been one of my favorite brands to incorporate into my haircare routine. Their products are definitely on the pricier side, but they really do deliver the results they promise. This serum in particular is ideal for using right before an at-home blowout. It’s formulated to strengthen your strands while providing shine and a thicker feeling consistency. It’s also great at giving your hair a little bit of volume as you style it—which is essential for a blowout look!

One more product I’d consider adding to your routine is this anti-frizz treatment. If you struggle at all with frizzy or poofy hair, this is a lifesaver. It leaves you with a glassy finish and I like that it’s at a decent price point. Just add a few sprays to damp hair before blow drying.
This product is meant to be used on its own (it contains heat protectant), but you can add other serums or oils after blow drying your hair completely.

3. Dry your hair in sections.
Okay now that we’ve addressed a good lineup of products (which is arguably the most important part), we can move into the actual styling process.
It should come as no surprise that the best way to get a salon blowout look is by separating your hair into sections. My hair is thick and unruly so I take the time on each section to dry it fully and give it the shape it needs. Sure, it might take you more time to dry it this way, but it’s the same strategy that hairdressers use—and it works.
If you have sections of your hair that get a bit too air dried while you’re blowing it out, just use a small spray bottle to get those pieces damp again.
4. Use a round brush.
Most people either love or hate using a round brush to dry their hair, but as with anything, it just takes some practice to get the hang of it. You might struggle a bit to figure out the best way to hold the brush, but I promise that repeatedly trying this method will get easier (and the final look will be worth it!)
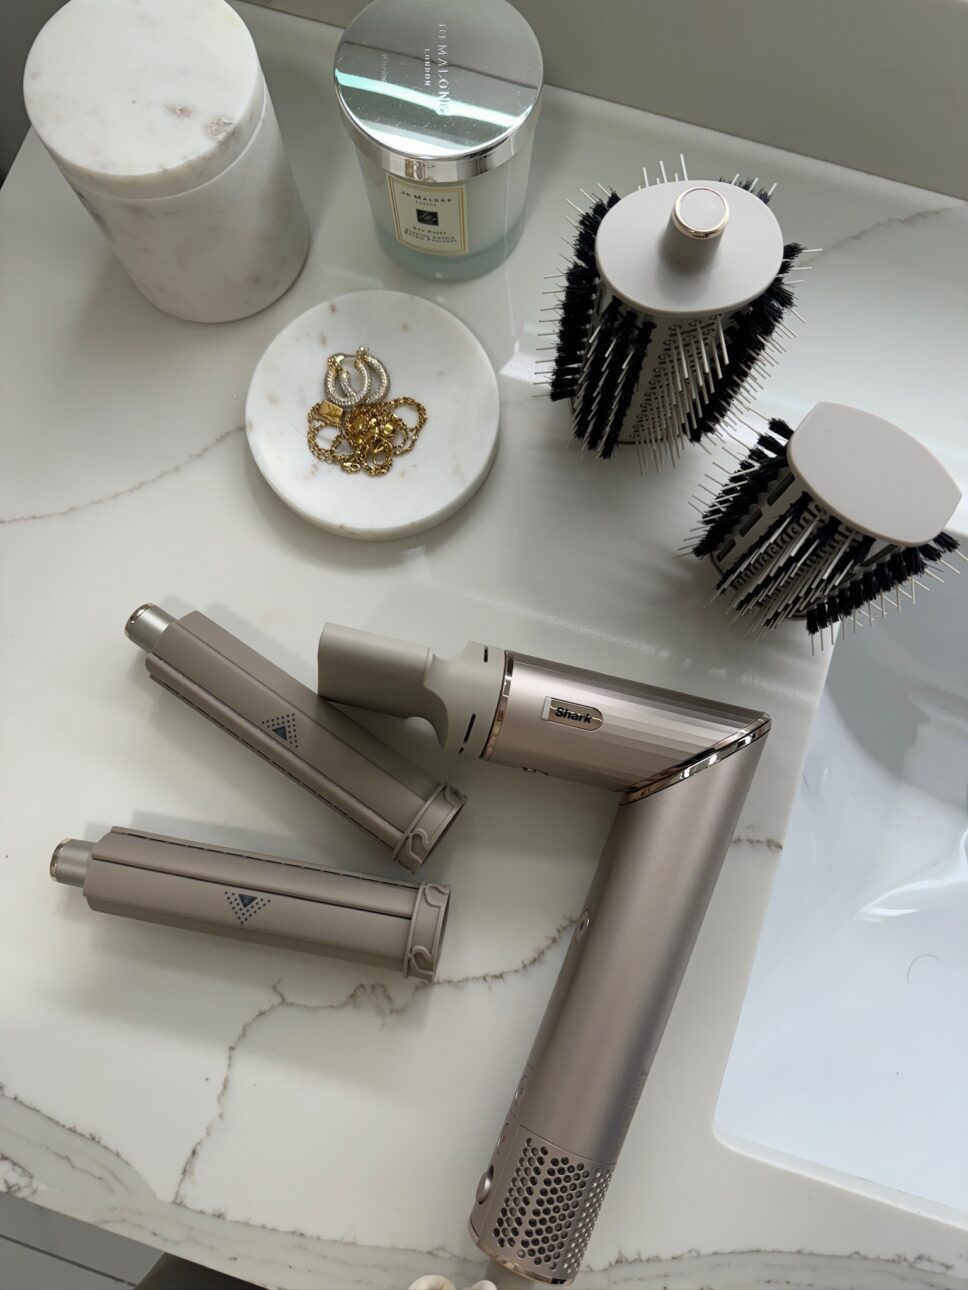
This is the best round brush to use for a blowout. It’s the perfect size for drying your hair quickly and it’s made with boar bristles so it doesn’t get hot.

5. Use the Dyson hair dryer.
I know that the Dyson hair dryer is a major investment, but if you’ve been considering it, I could not recommend it more. The Dyson has been my go-to for great blowouts and for simply drying my hair before styling it another way.
It gives you a very voluminous look that’s perfect for everyday wear. I also like that you just need the Dyson to get a salon blowout look (rather than using another hot tool like a curling iron or the AirWrap.) I’ve also found that the Dyson dries my hair much faster than a typical blow dryer, which is a major perk and makes it worth the higher price tag in my opinion.
Pro tip: When blowing your hair out, always finish with a shot of cold air, which can help the style last longer.

6. Try the Shark FlexStyle blow dryer.
If the Dyson is out of budget or you’re simply not a fan of it, this new-ish to me tool is another find that I can honestly say is worth every penny.
I’ve actually used the Dyson AirWrap before and prefer this Shark FlexStyle dryer so much more. It’s half the price of the Dyson and it holds my hairstyles so much better. I’ve been sharing it a lot on my Instagram lately and you all seem to be equally as obsessed with it. For the price, you just really can’t beat it, and it gives you such a great (and quick) blowout look.
You can use it to dry your hair, curl it, or straighten it, since it comes with several attachments. It’s also lightweight which I find to be really important when styling your hair.

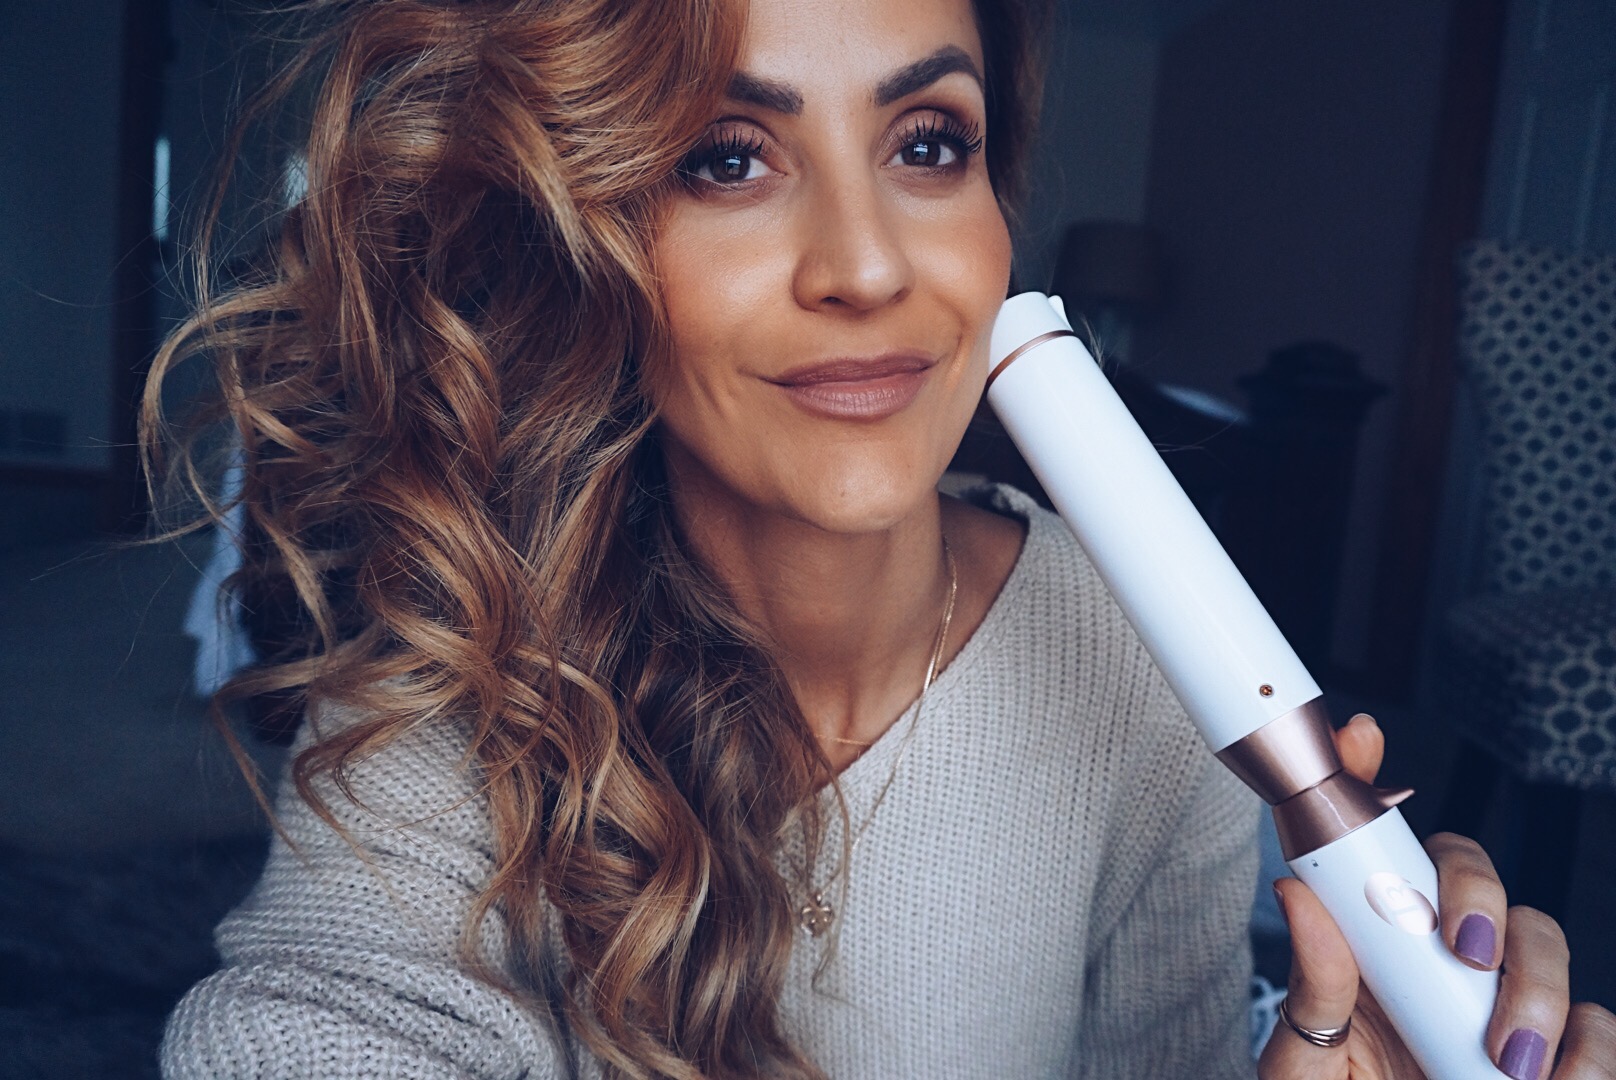
That’s it! Those are the exact products and steps I follow to achieve an at-home blowout. If you dry your hair this way and find that it doesn’t have quite as much volume as you’re looking for, you can always go back in with a curling iron (I love this one) to fine tune things. I typically don’t need to do that step, but in the beginning, it might be helpful!
Let me know if you have any questions in the comment section below and I’ll be sure to answer them. Just remember, it takes time to really nail this—practice makes perfect!


Leave a Comment
Form Below